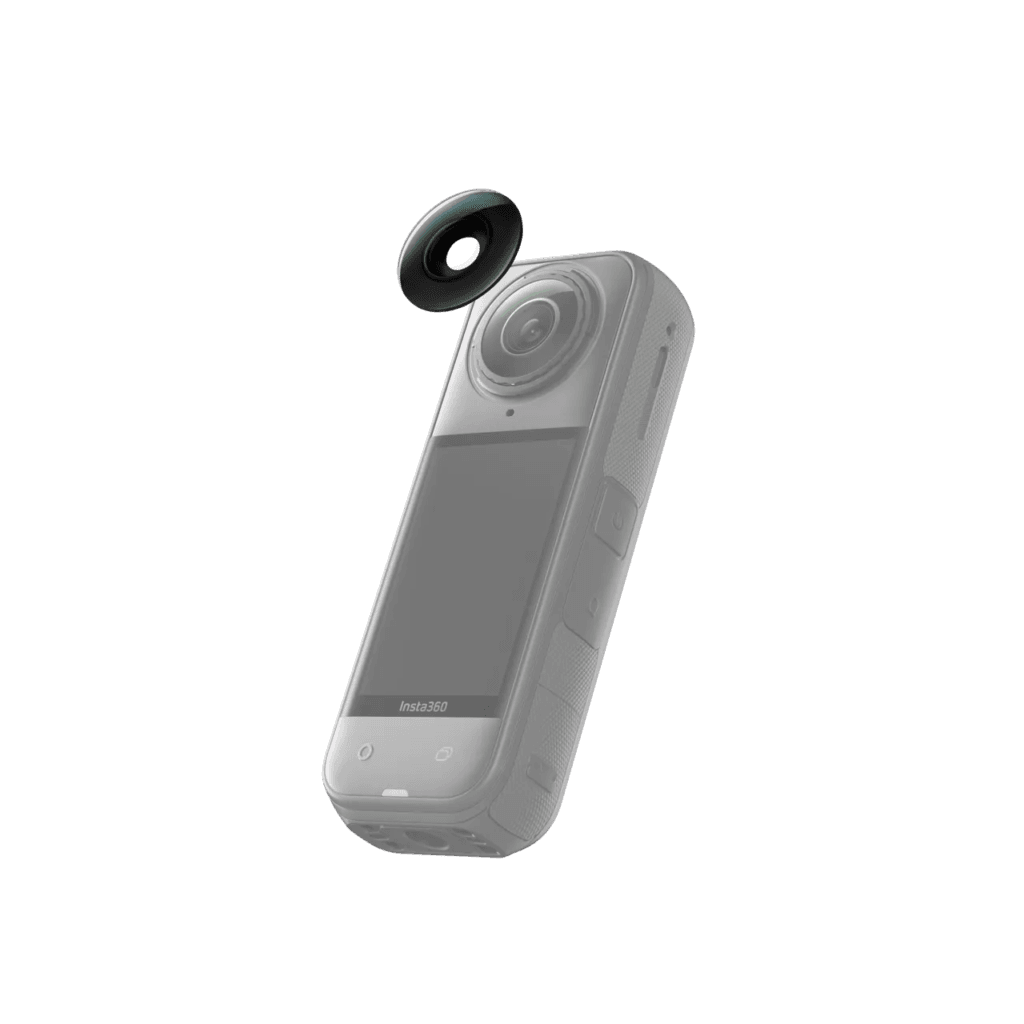
The lens of a 360-degree camera is more vulnerable to damage than that of a standard action camera, mainly because of its spherical protruding design. Even a minor drop or accidental contact can cause abrasions, scratches, or even cracks. In the past, the only solutions were to replace the entire camera under warranty or send it in for lens repair—both of which were time-consuming and inconvenient for users, as well as costly for the manufacturer.
Now, even the Insta360 X5 camera lens itself can be replaced at home. However, many users are still unsure about how to properly use the replacement lens kit. This review takes a hands-on look at the Insta360 X5 Replacement Lens Kit and provides a step-by-step guide on how to swap out the X5’s outer lens.
Read this review to find out how you can swap X5 lenses in just 1 minute!
X5 Replacement Lens Kit
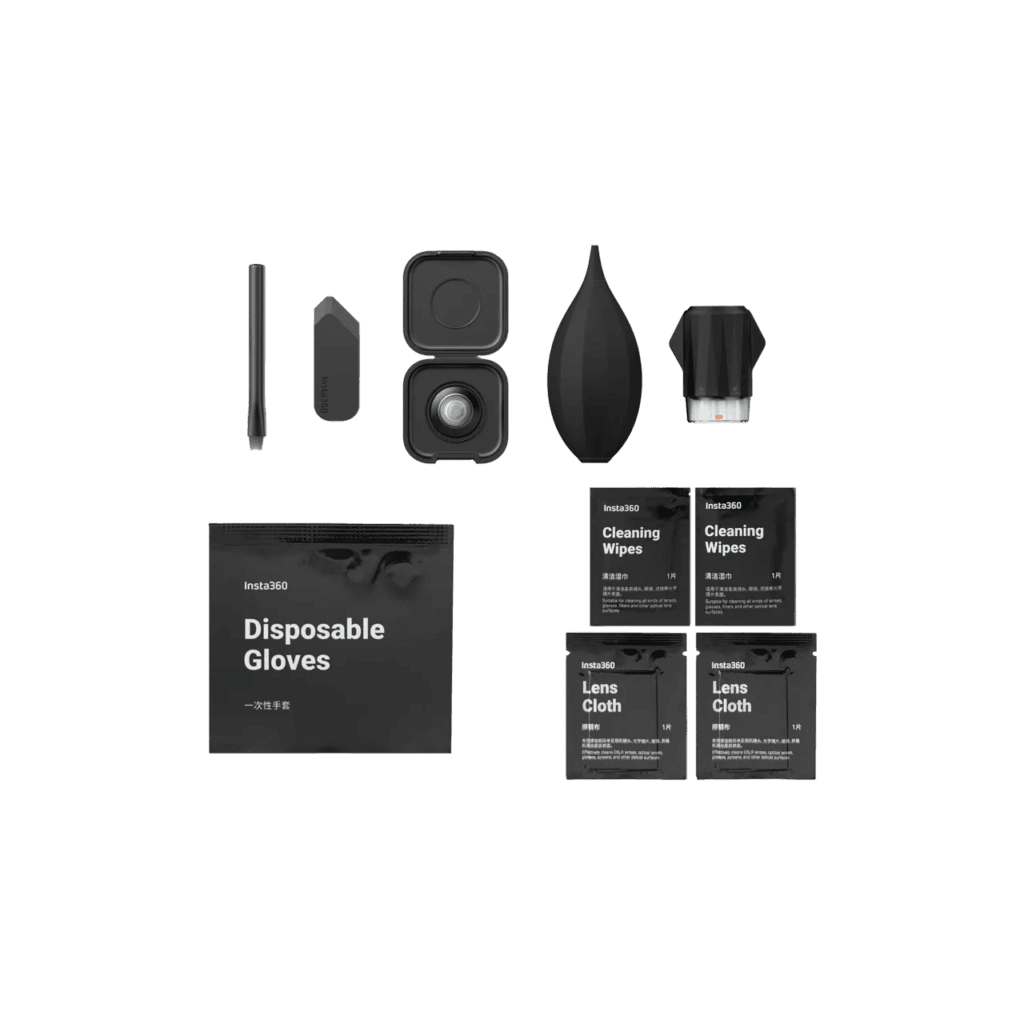
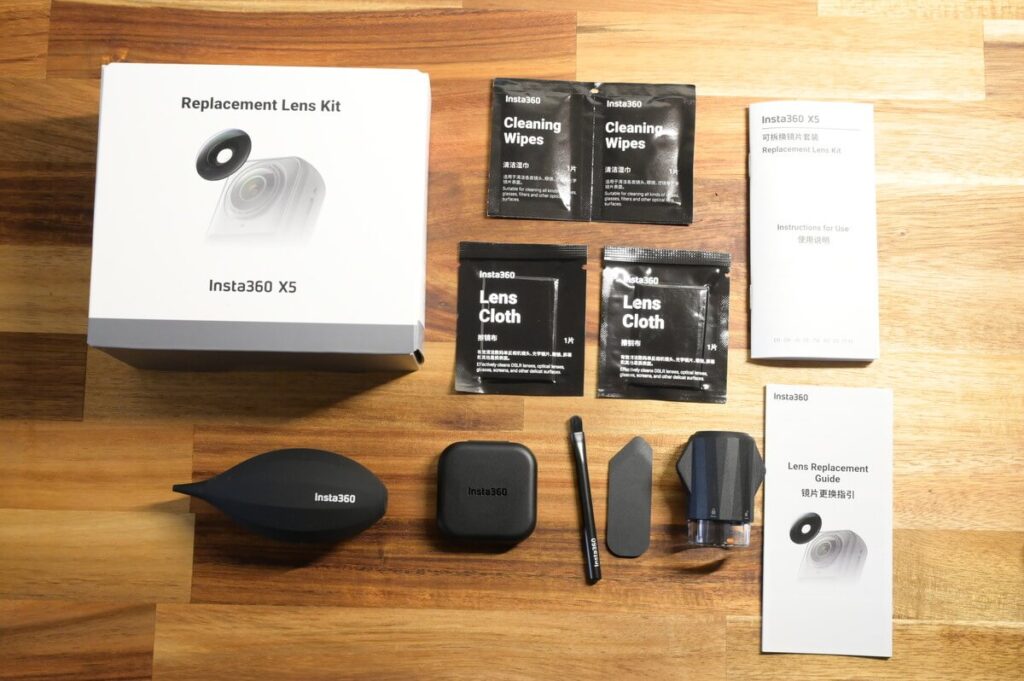
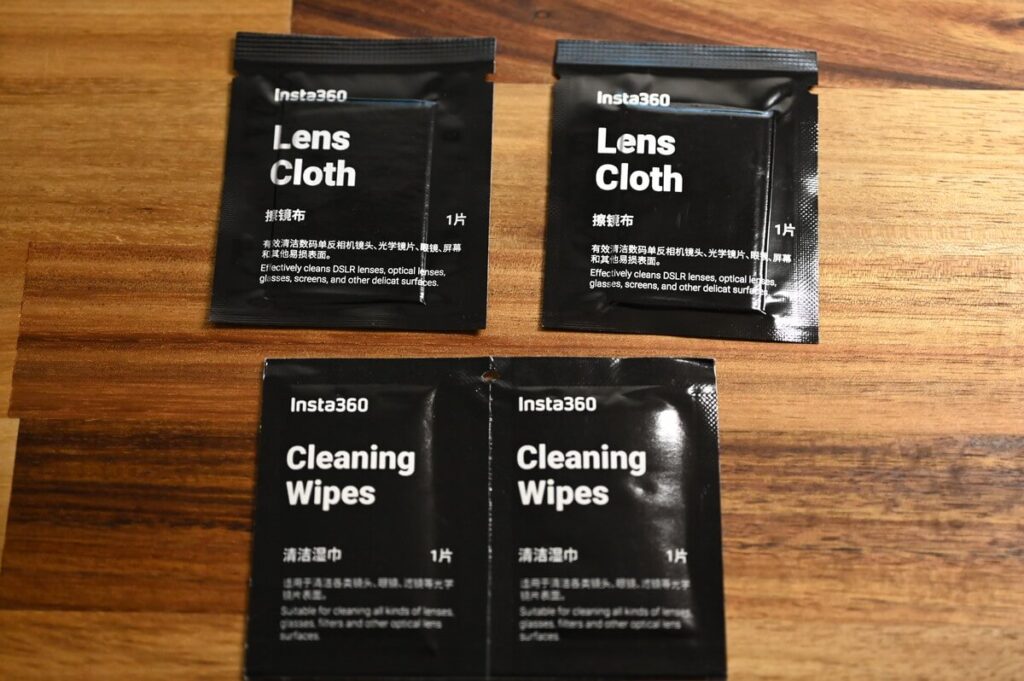
First, let’s take a look at the Insta360 X5 Replacement Lens Kit. This set includes all the tools and cleaning accessories needed for a lens swap: a pry tool, brush, cleaning wipes, lens cloth, disposable gloves, air blower, lens removal tool, storage case for the new lens, and one genuine replacement lens. Everything is provided so users can easily complete the lens replacement process on their own.
When I actually performed the replacement myself, the main tools I used were: the pry tool, brush, air blower, and lens removal tool ⬇️
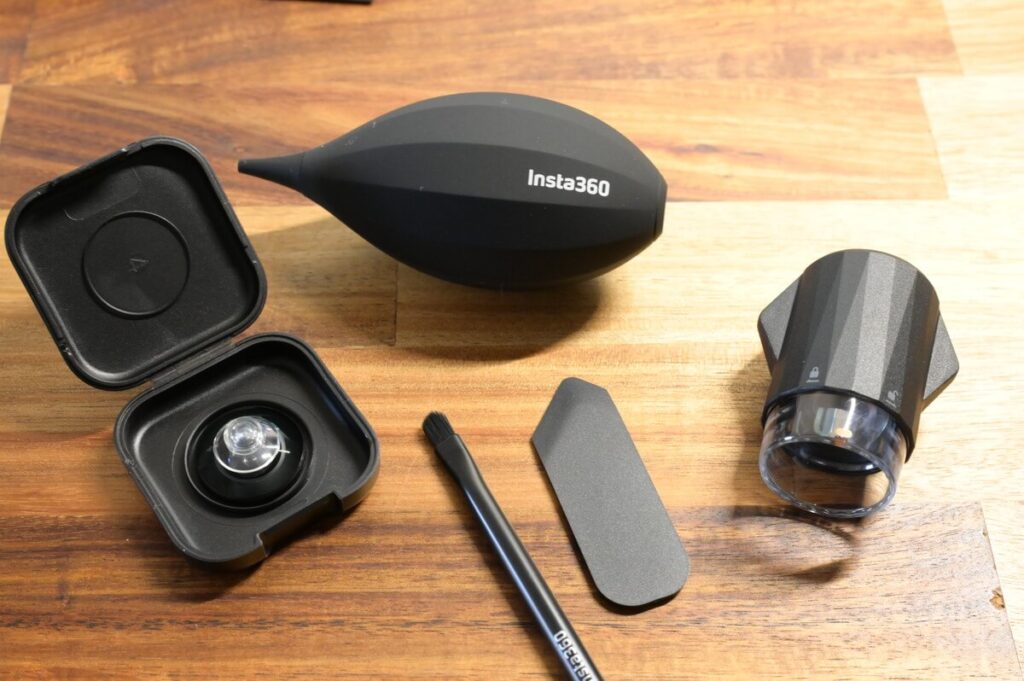
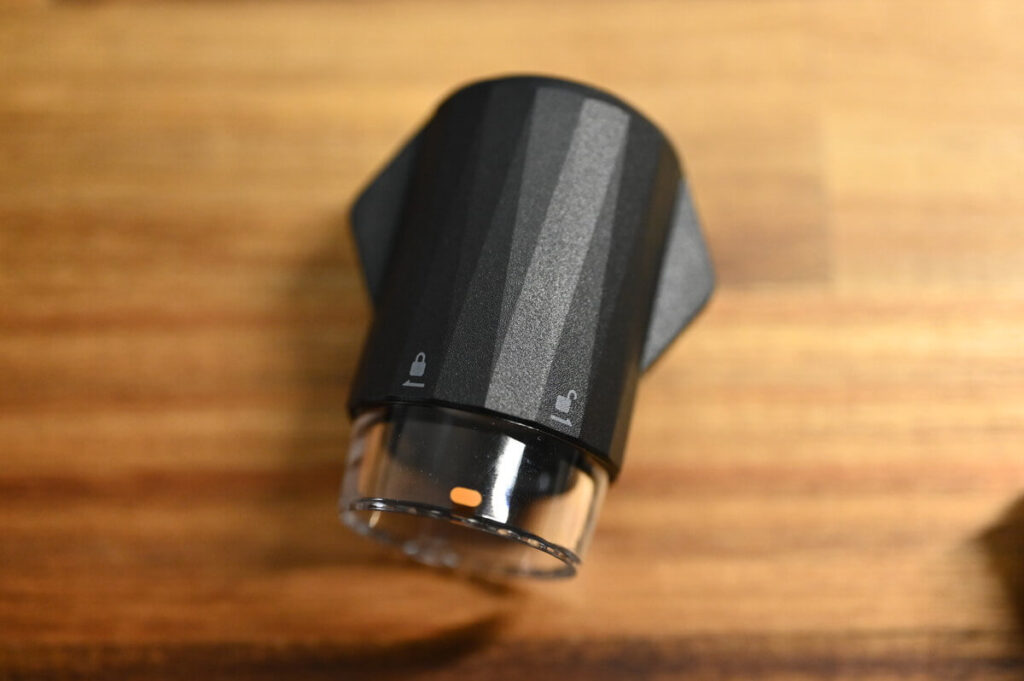
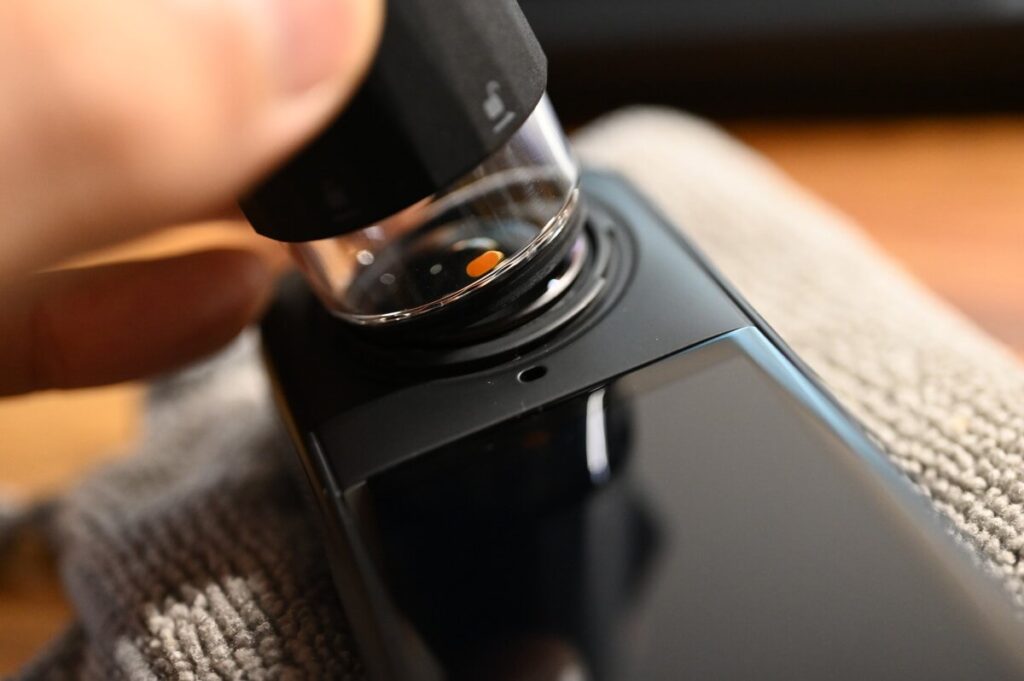
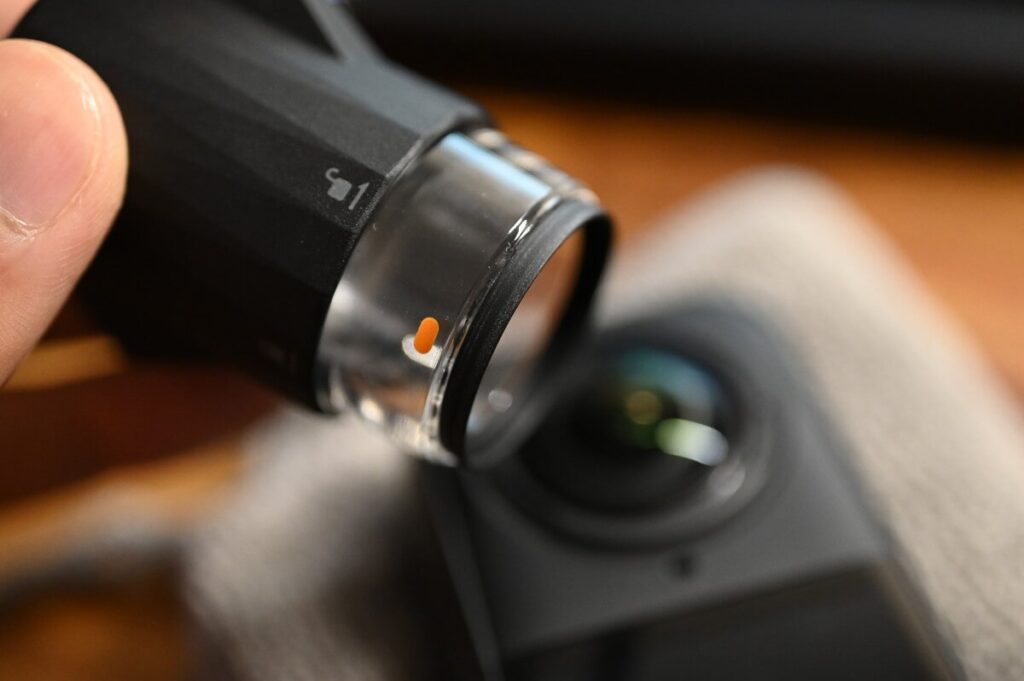
Among them, the lens removal tool is an essential part of the replacement process. In function, it works like a “dedicated wrench” for the lens. To use it correctly, you need to align the orange marker on the tool with the white marker on the lens—only then can you smoothly complete the removal or installation.
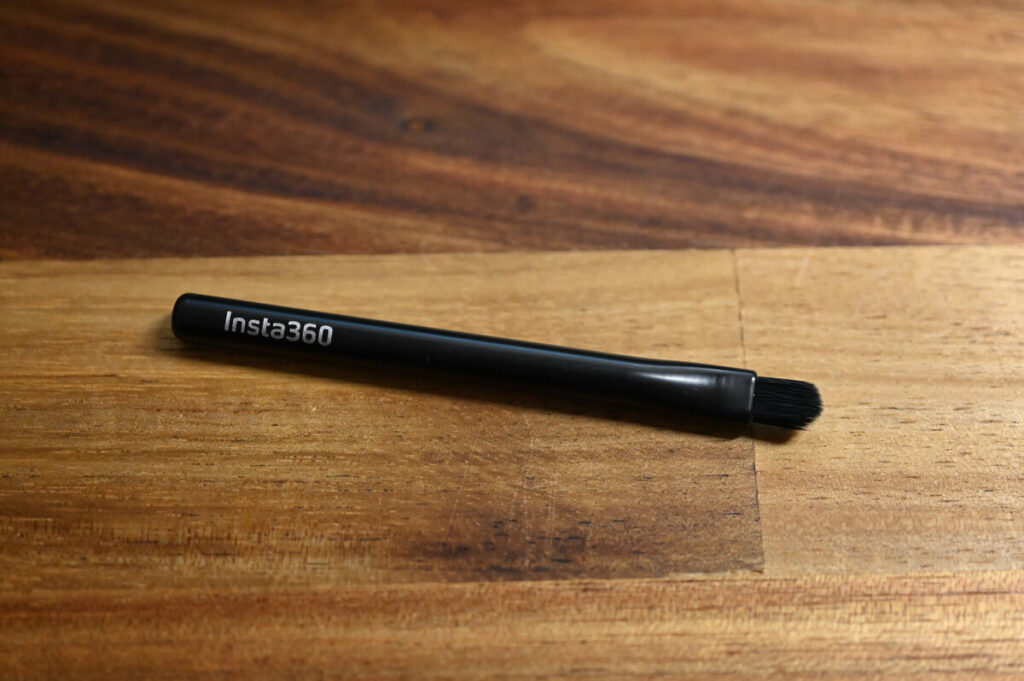
The brush is mainly used to remove dust from the lens surface. If the lens happens to crack, it can also be used carefully to clean away broken glass fragments, helping to prevent secondary scratches.
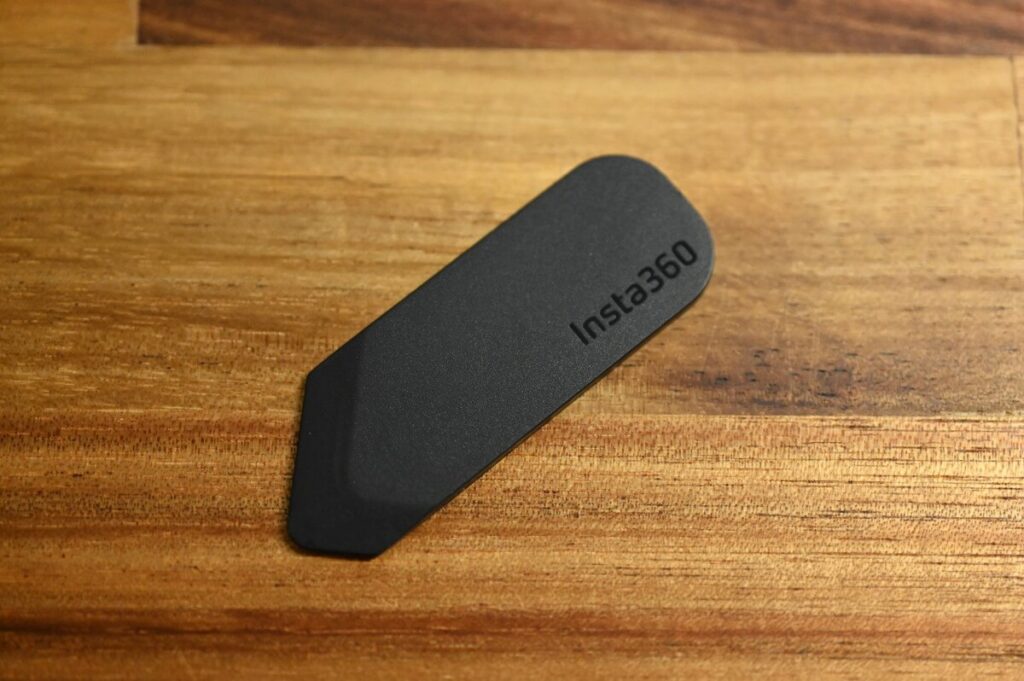
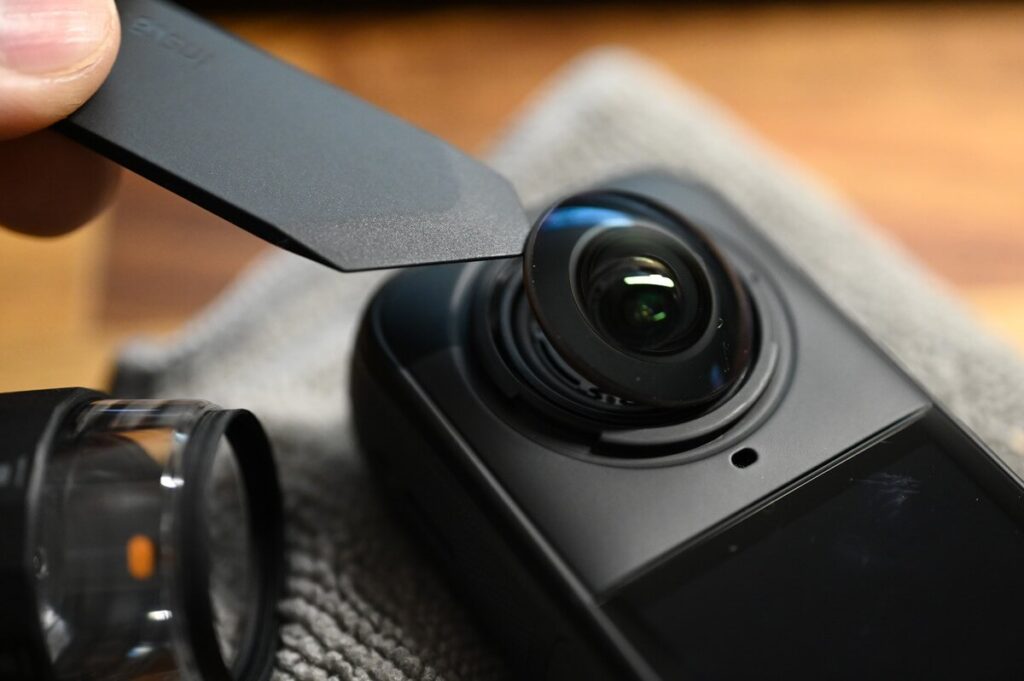
The pry tool is used to help lift and detach the original lens during removal.
The air blower is used to clean away dust from the surface.

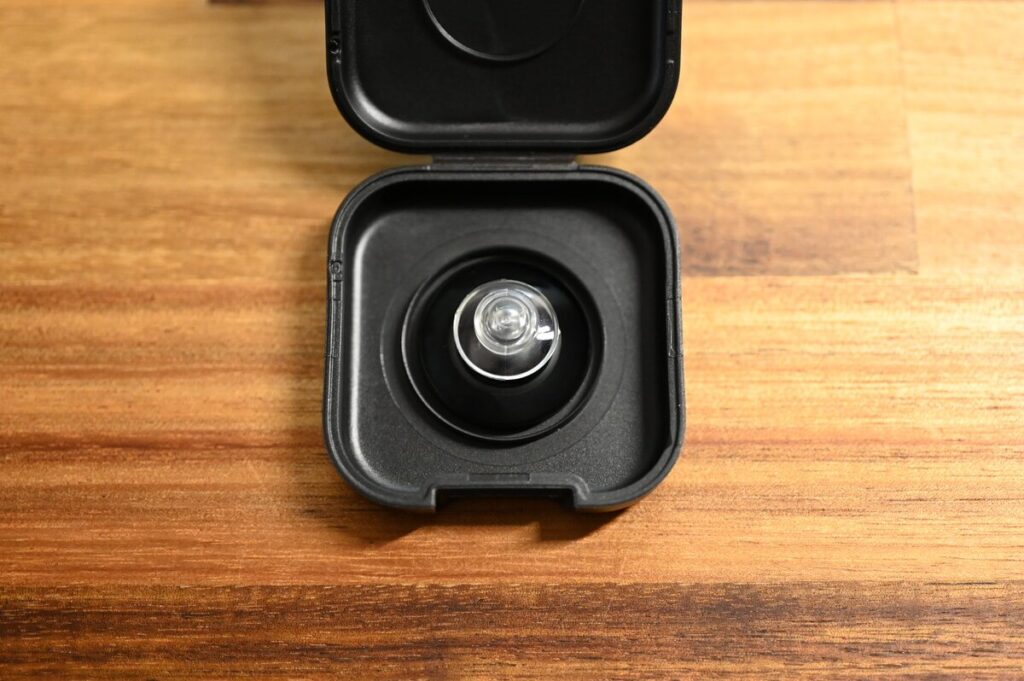
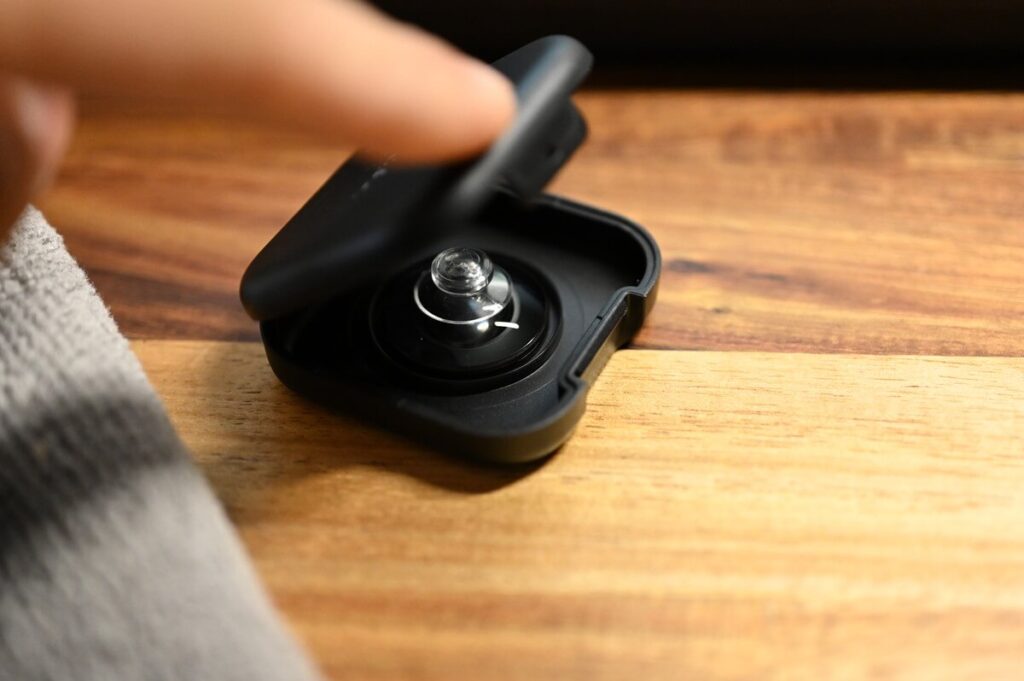
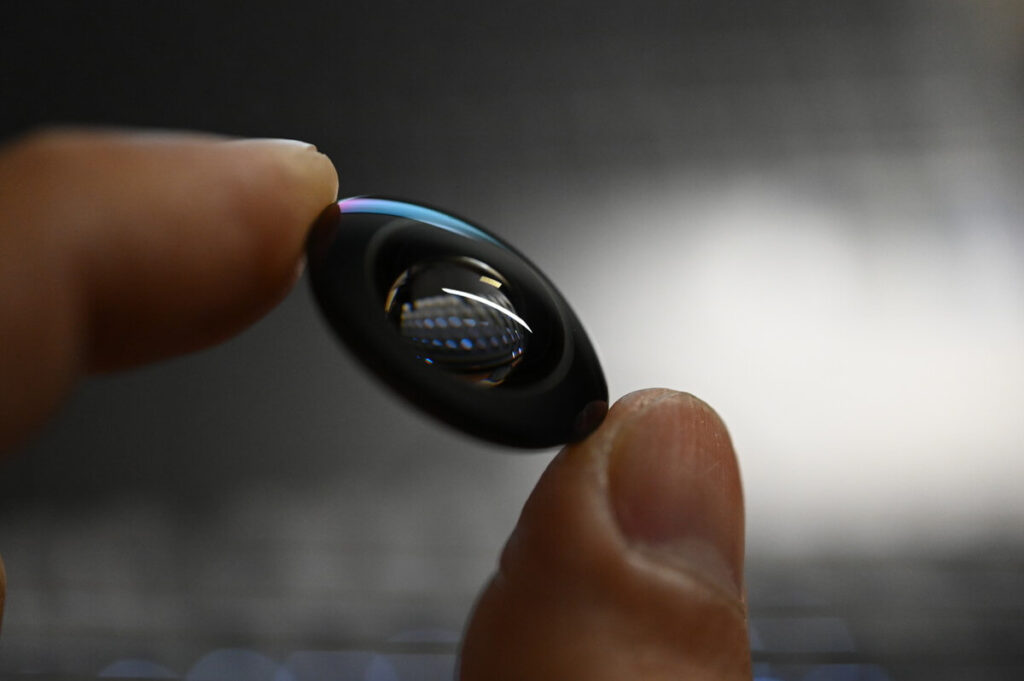
When you open the lens storage case, you’ll find that the new lens already comes with a suction cup attached. This makes it easy to securely install the lens onto the X5 body, ensuring safer and simpler handling.
The lens cloth is used to wipe and clean the lens.
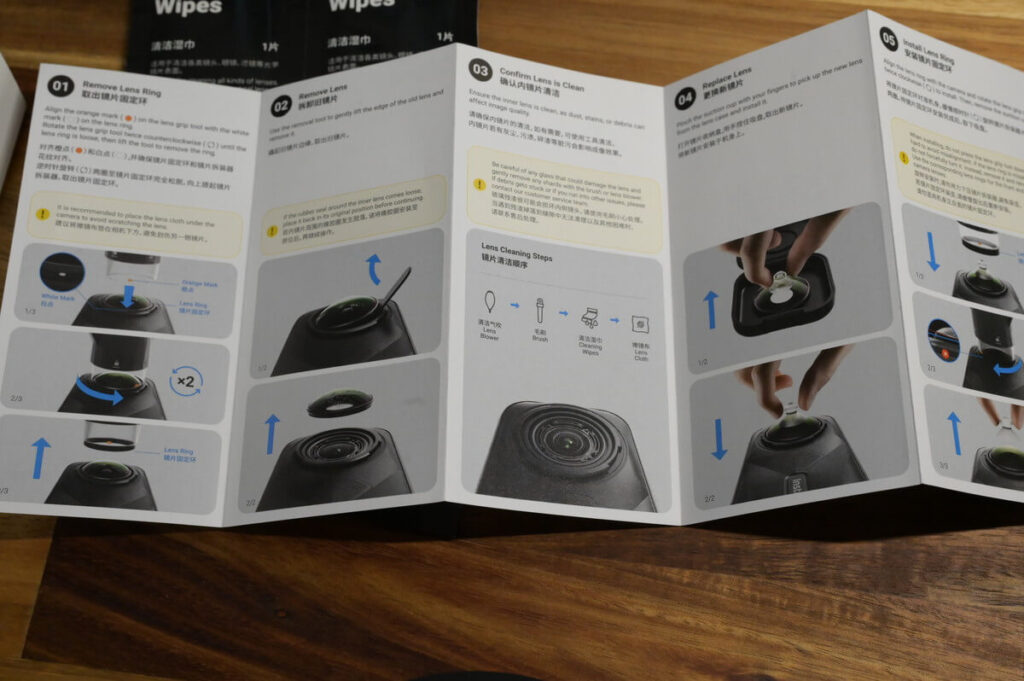
The kit also includes an instruction manual with clear illustrations, helping you understand and complete the entire lens replacement process more intuitively.
Insta360 X5 Lens Replacement Guide
Video Tutorial
This is a video I recorded myself showing the lens replacement process—feel free to reference it anytime
An official X5 distributor has also recorded a lens replacement tutorial video, with clear step-by-step instructions that make the process very easy to follow.
Step-by-Step Photo Guide
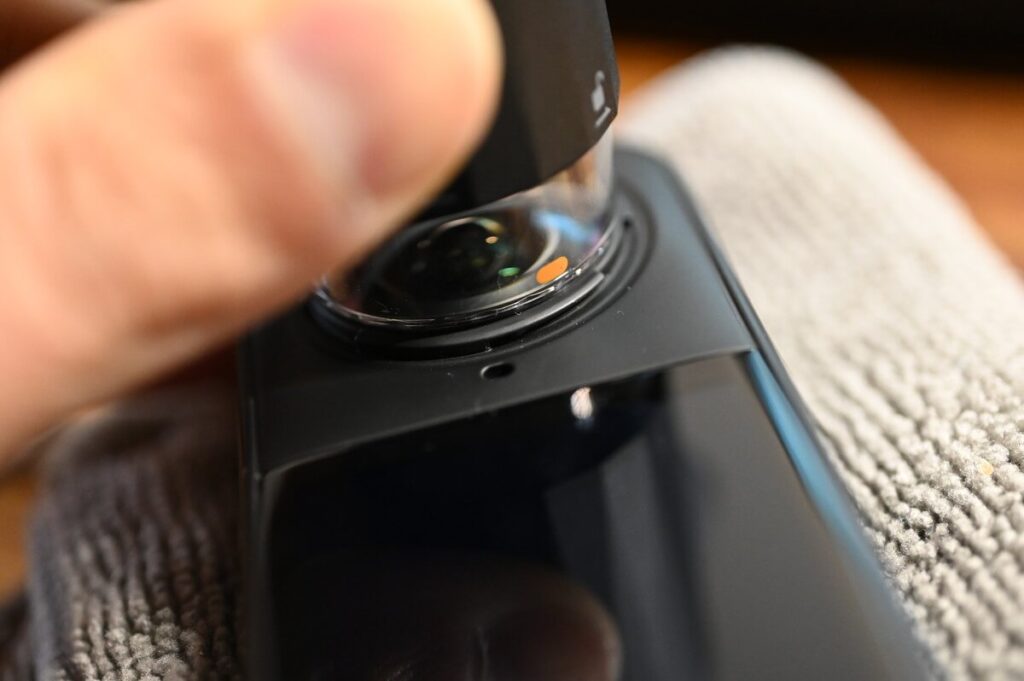
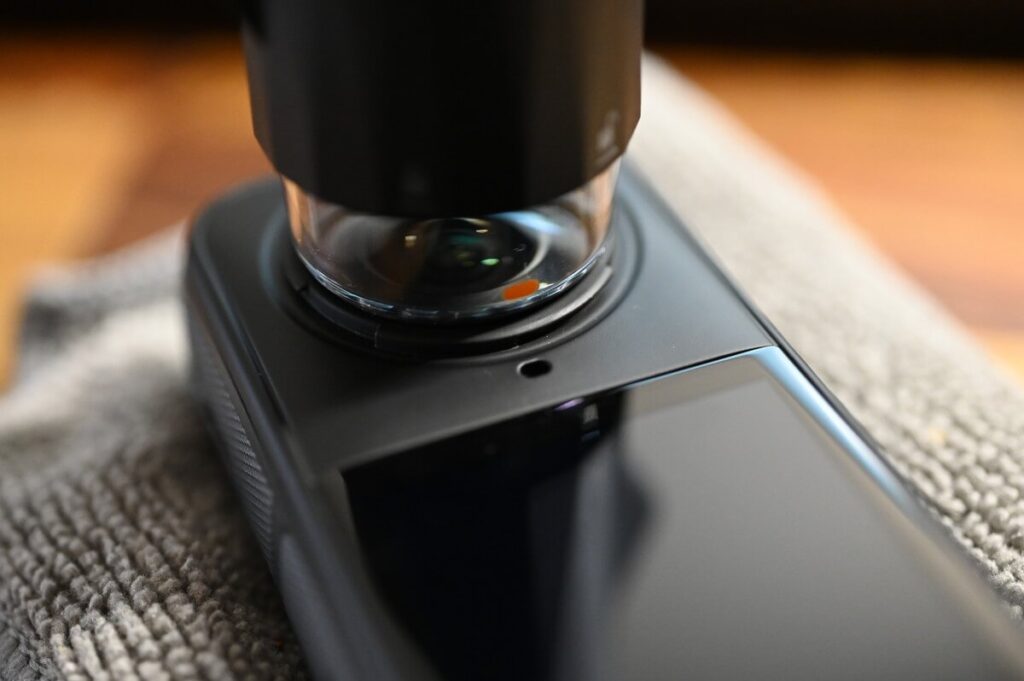
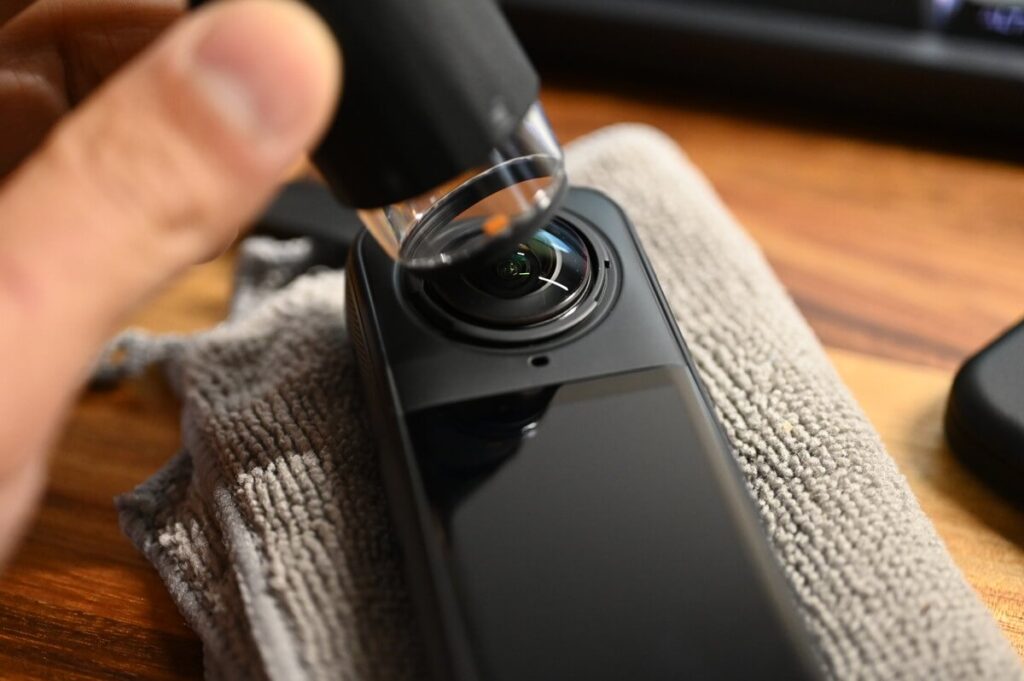
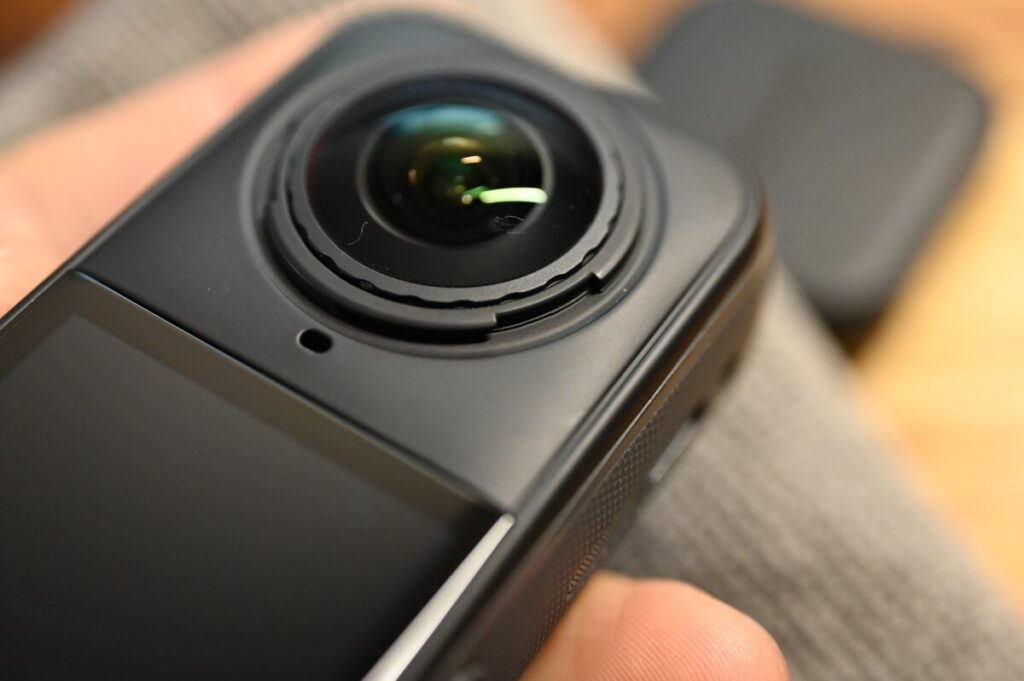
The X5 features a gear-shaped notch around the lens, with a white dot marker positioned at the center.

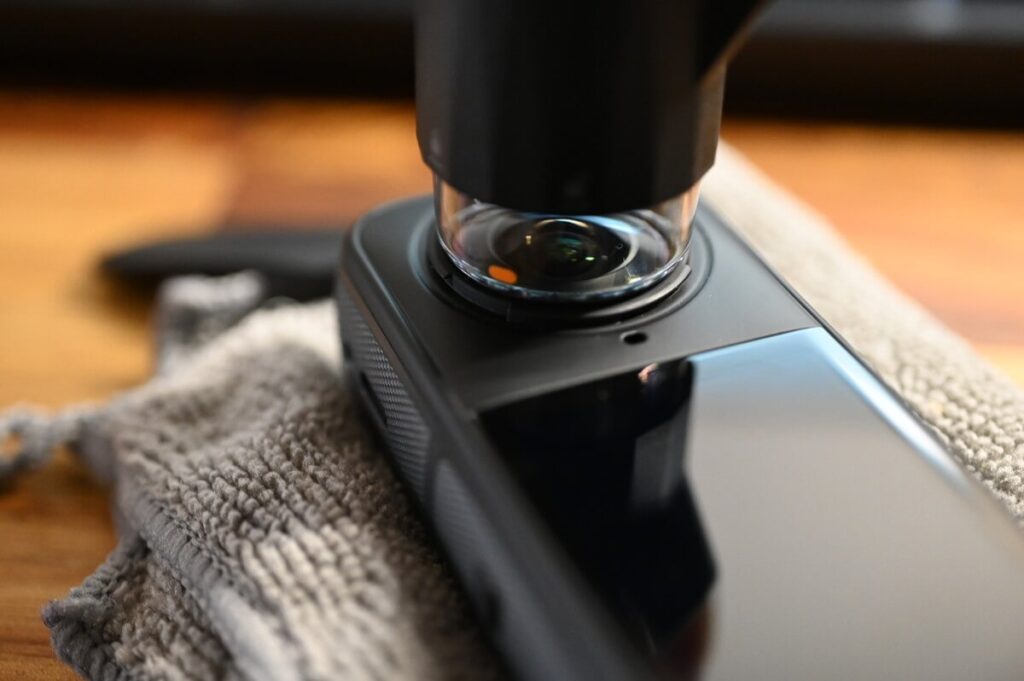
First, check the orange marker on the lens removal tool and align it with the white dot located at the center of the gear-shaped base around the X5 lens. Once aligned, you can proceed with removal or installation.
After ensuring a tight fit, rotate the lens counterclockwise two full turns, and the lens ring will loosen.
Remove the lens ring.
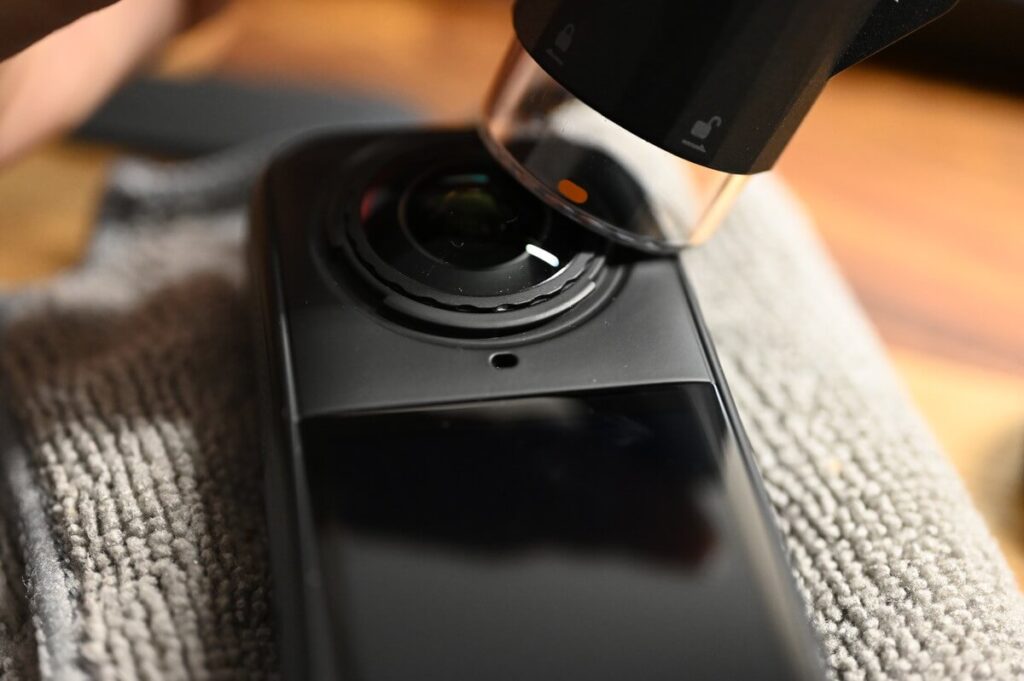
When the camera lens is in a no lens ring state, you can then use the pry tool to carefully lift off the original lens.
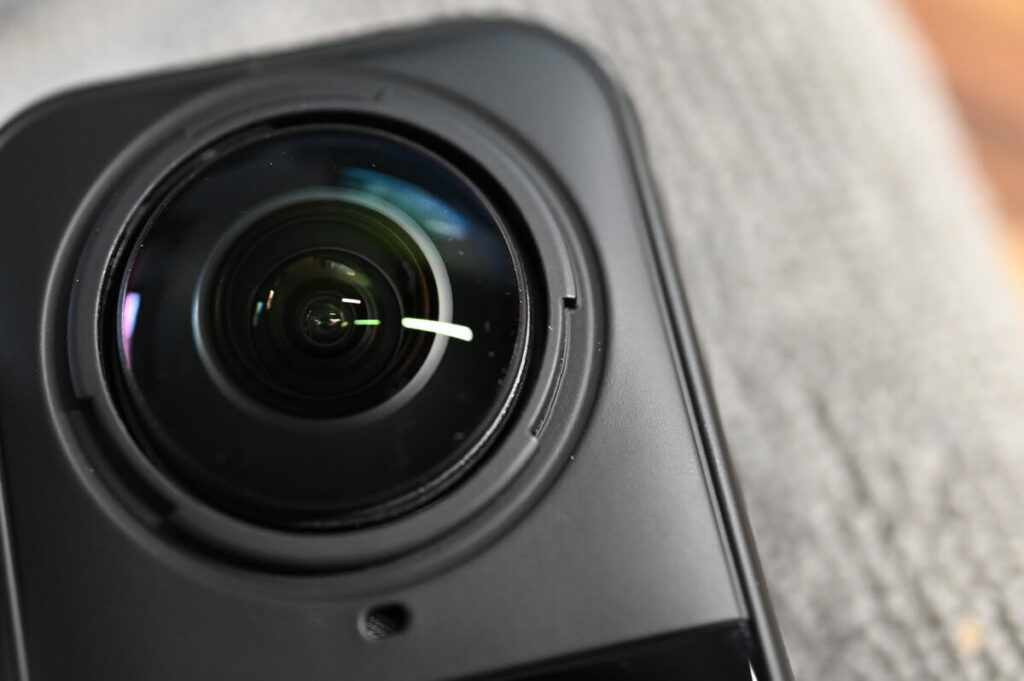
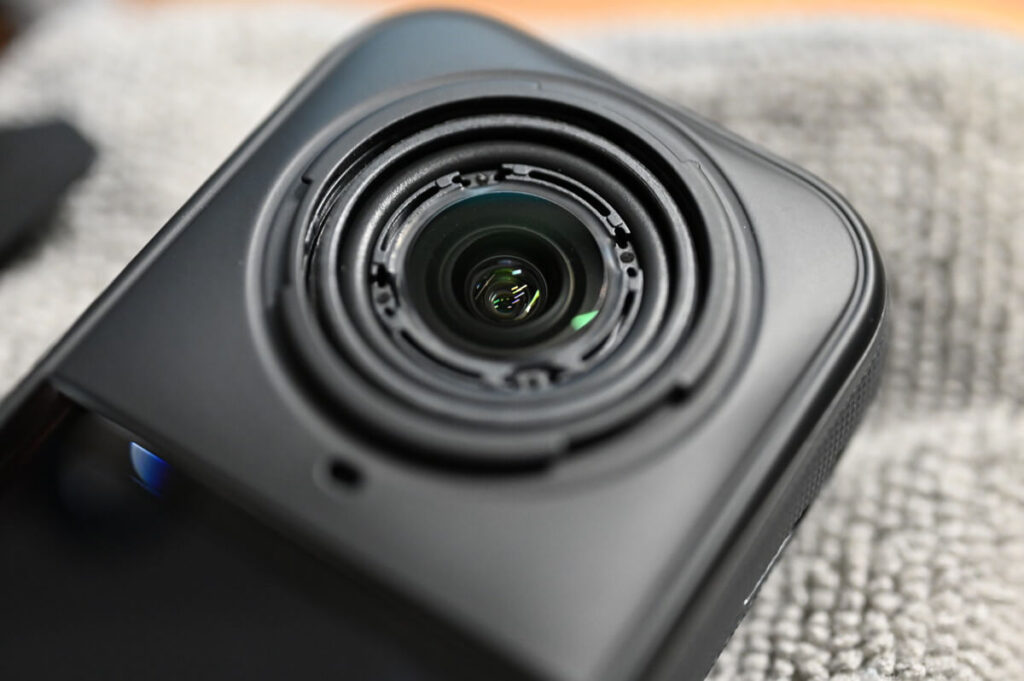
From the side of the X5 lens, you can see that the gear-shaped structure has disappeared, leaving a visible gap around the lens.
Here's the X5 without lenses ⬇️
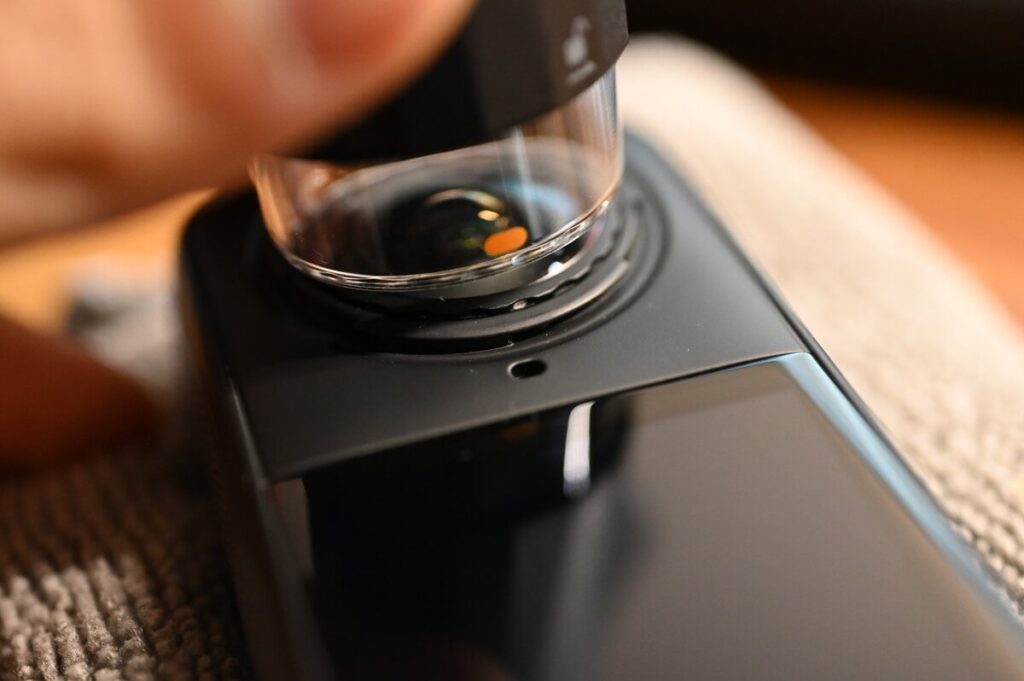
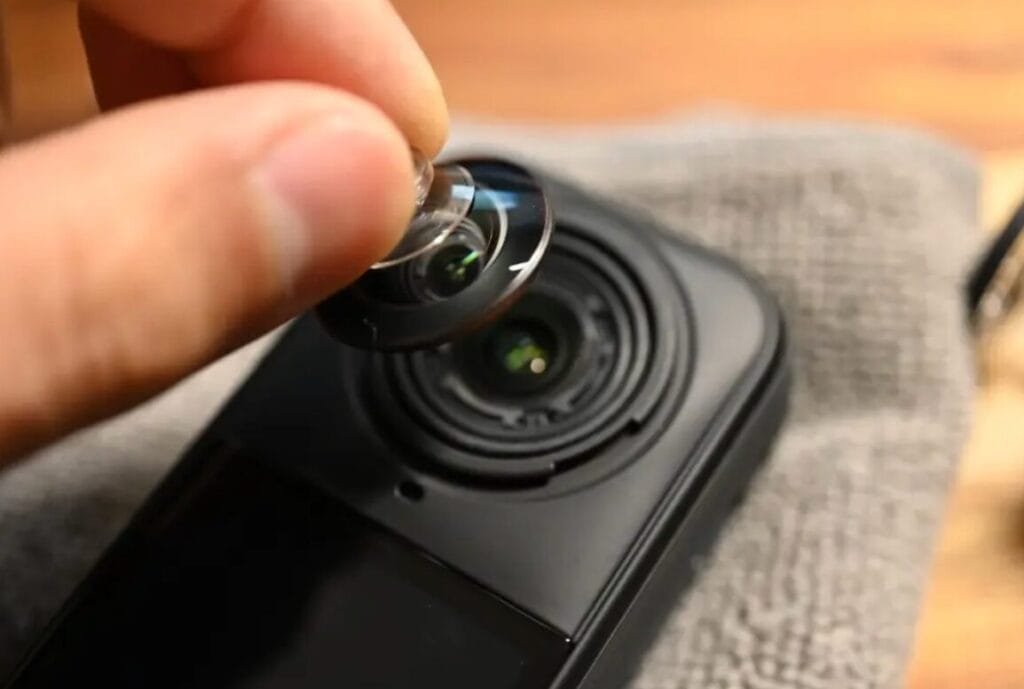
Open the new lens storage case, hold the suction cup with your hand, take out the new lens, and securely install it onto the camera.
The inner ring of the X5 lens is protected by a waterproof sealing ring, providing excellent water resistance.
Finally, rotate the lens ring clockwise two full turns to secure it back in place.
Completing the Installation
In the end, I found that some of the included tools—such as the air blower and brush—aren’t really needed for everyday use.
However, when it comes time to replace a cracked lens or perform maintenance on the X5 after long-term use, tools like the air blower and brush become very handy.
Insta360 does not recommend replacing a lens that is completely shattered. If the lens has broken into fine pieces, the tool may not be able to rotate properly, and the debris could come into contact with the inner lens and cause scratches. This official reminder is likely made out of precaution. It’s best to evaluate the extent of the damage first and then decide whether lens replacement is appropriate.