The lenses of 360 Panorama cameras are more prone to damage than those of general sports cameras. This is mainly due to the spherical protruding design of panorama cameras, which will be abraded, scratched, or even cracked once dropped or rubbed inadvertently. In the past, the solution was to replace the camera directly under warranty or send it for repair to try to replace the lens, but the whole process is often time-consuming and labour-intensive, which is quite troublesome for both the user and the manufacturer.
The Insta360 X5 now allows you to change the camera lens body at home. However, there are still a lot of users who have questions about how to use the detachable lens kit. In this review, we'll take a look at the Insta360 X5 disassembled lens kit and show you how to change the X5's external lenses.
Read this review to learn how to easily change X5 lenses in 1 minute!
X5 Removable Lens Kit Tested
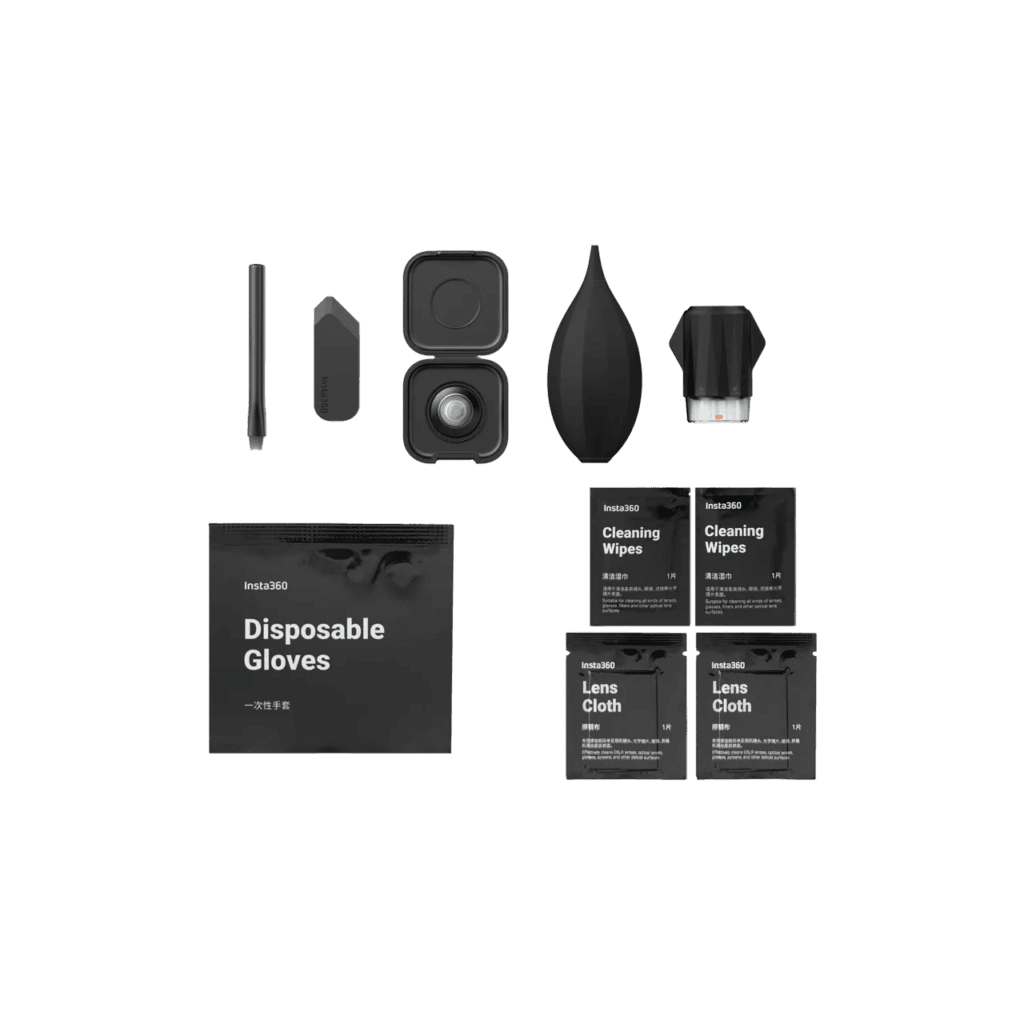
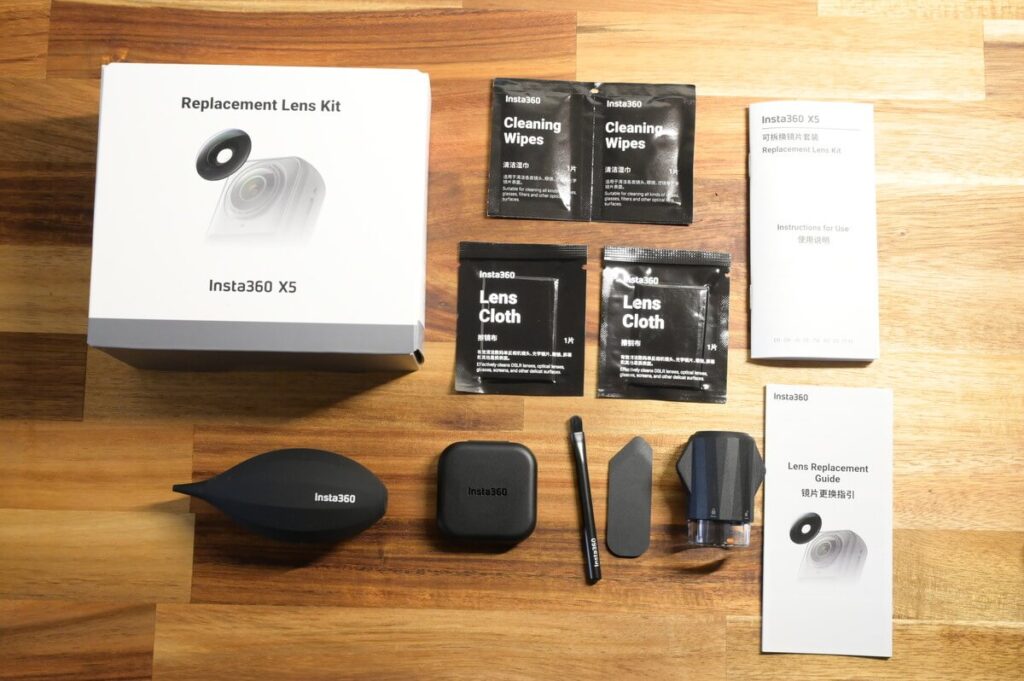
Let's start with the Insta360 X5 Lens Replacement Kit. This kit contains all the tools and cleaning accessories needed to replace your lenses, including a pry bar, brush, cleaning wipes, mirror cloth, disposable gloves, air blower, lens remover, new lens storage case, and one original replacement lens, making it easy for users to complete the replacement process on their own.
The main tools I use for actual replacement myself are pry blade, brush, air blow, lens remover ⬇️
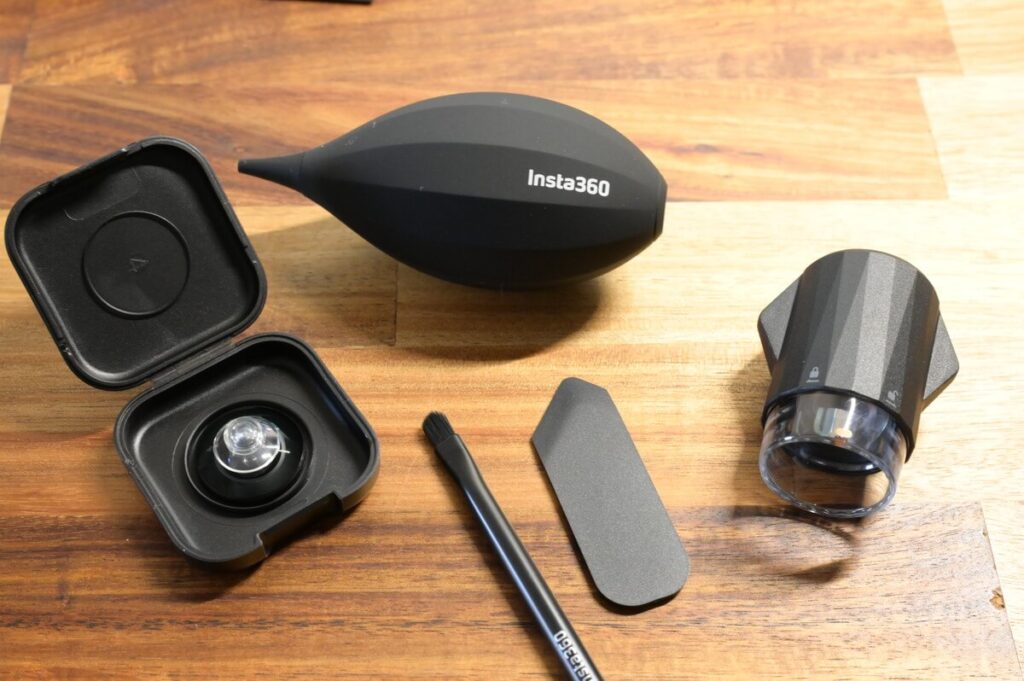
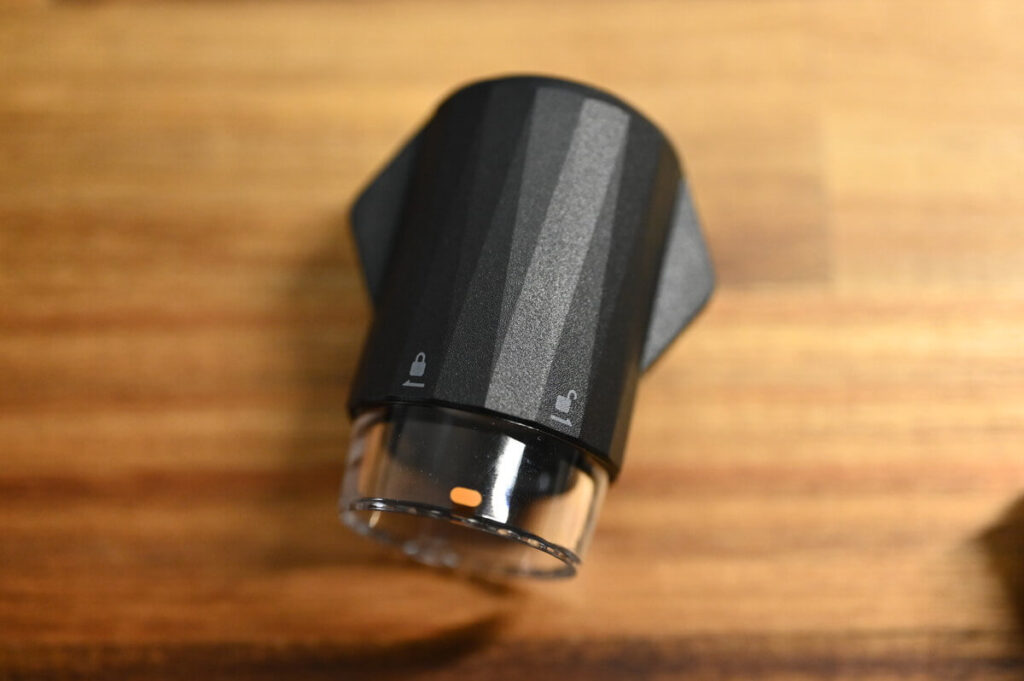
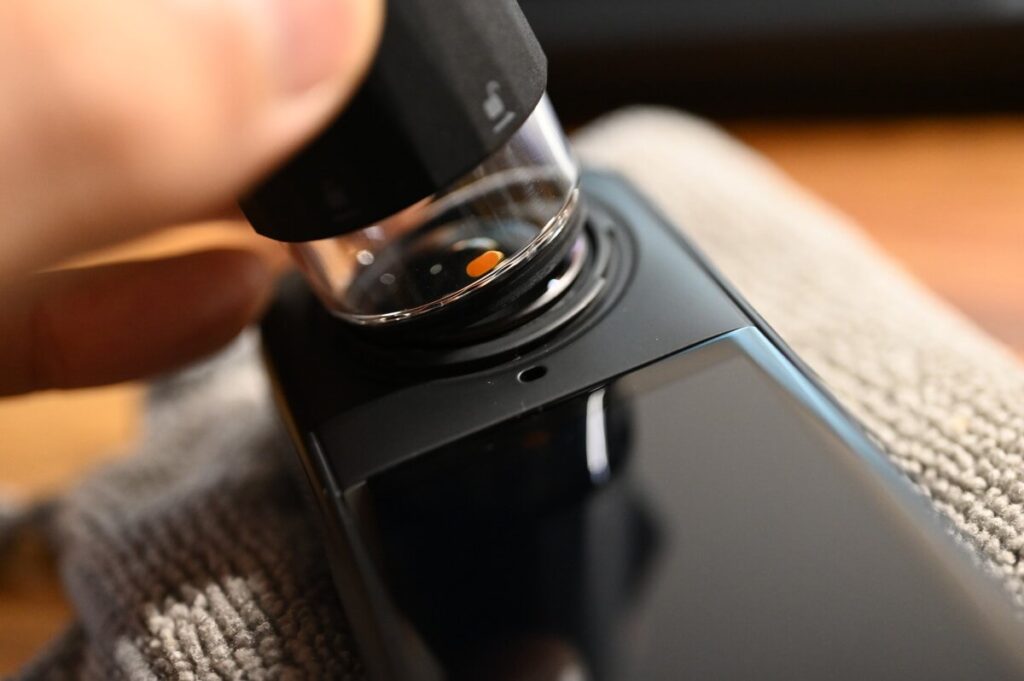
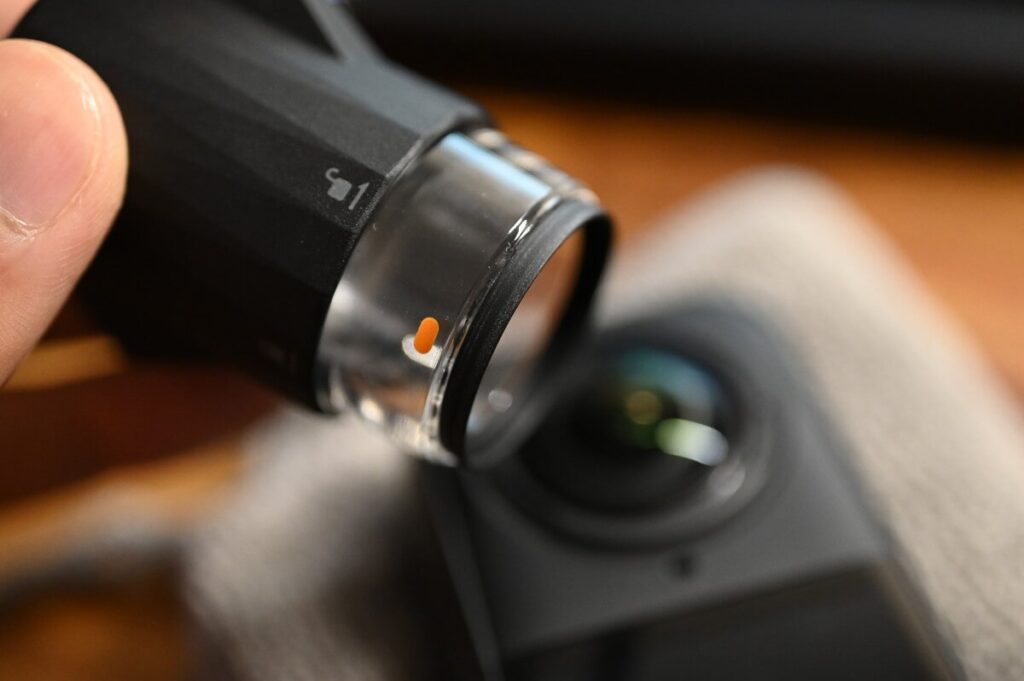
The Lens Remover is an essential tool for lens replacement. In terms of its purpose, it is like a "special spanner" for lenses. It is necessary to precisely align the orange markings with the white markings on the lenses in order to complete the disassembly.
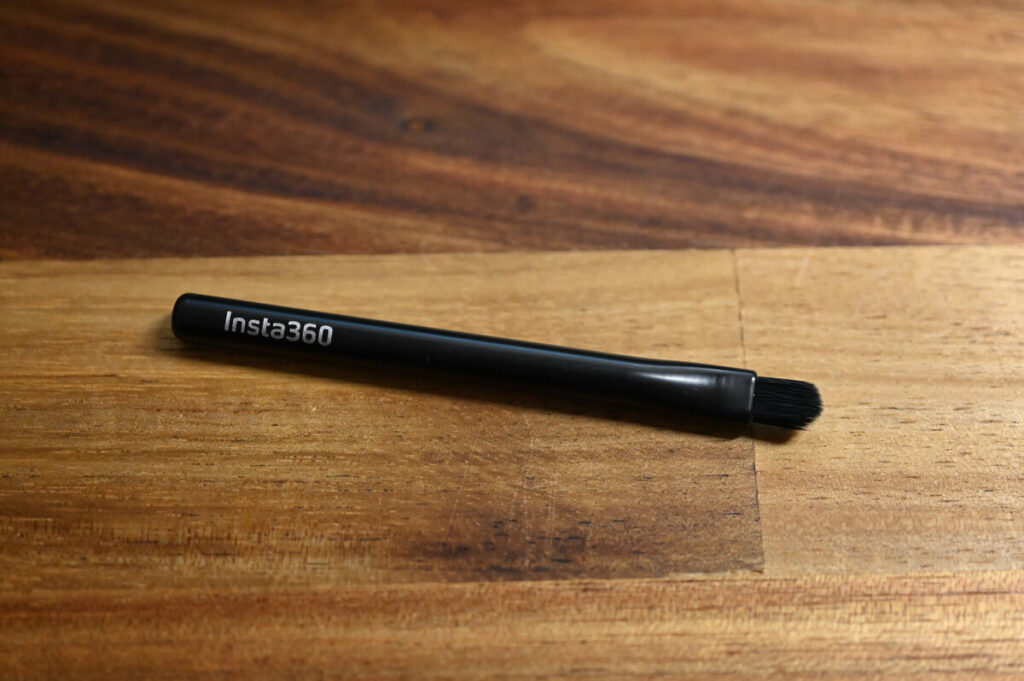
Brush is mainly used to remove dust from the surface of the lens; if the lens is accidentally broken, the brush can also be used to carefully clean up the debris and avoid secondary scratches.
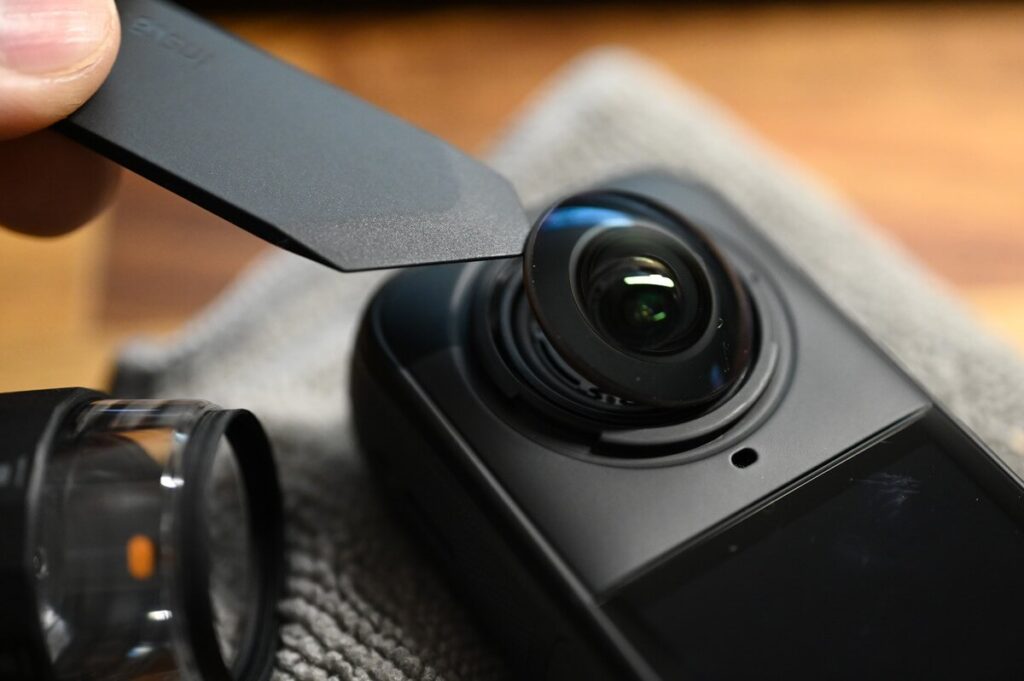
The pry piece is used to help pry the original lens to complete the disassembly.

Air blowing is used to clean dust from treated surfaces.

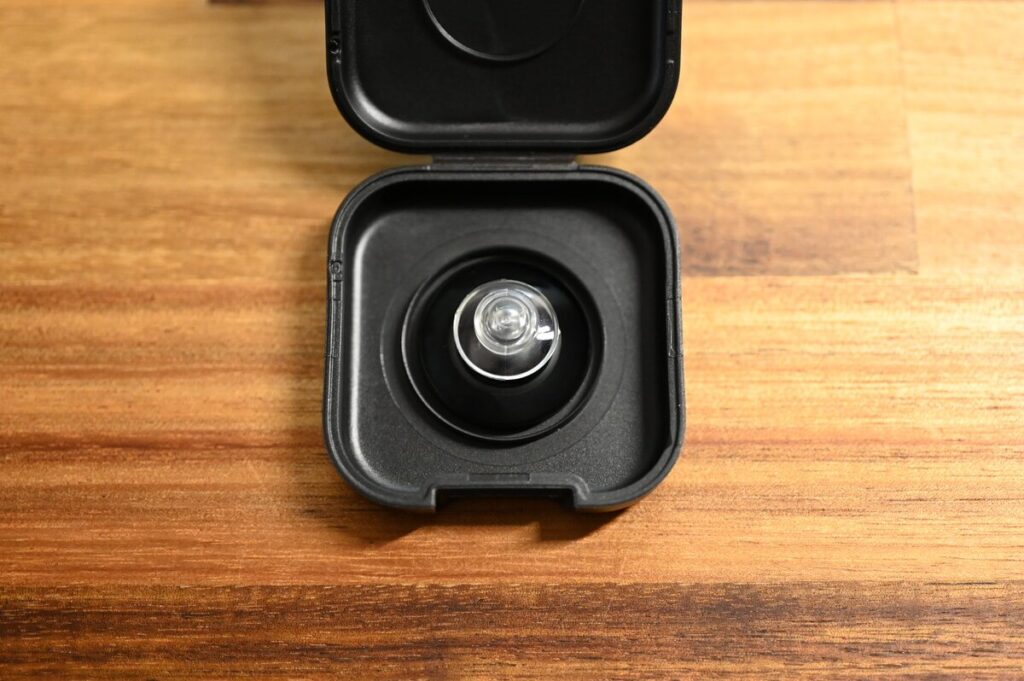
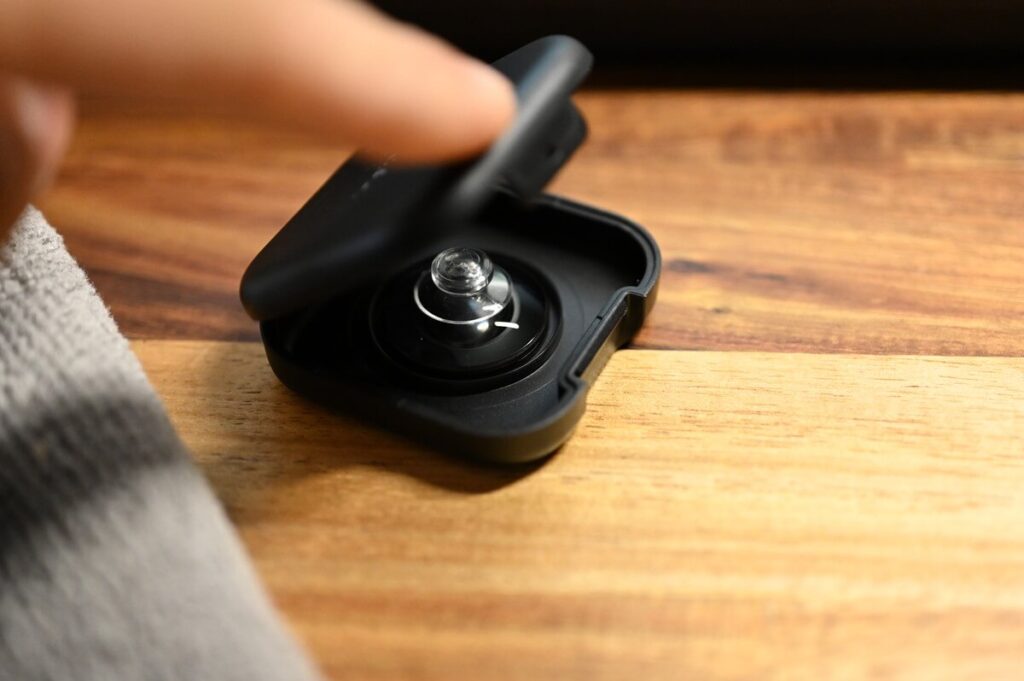
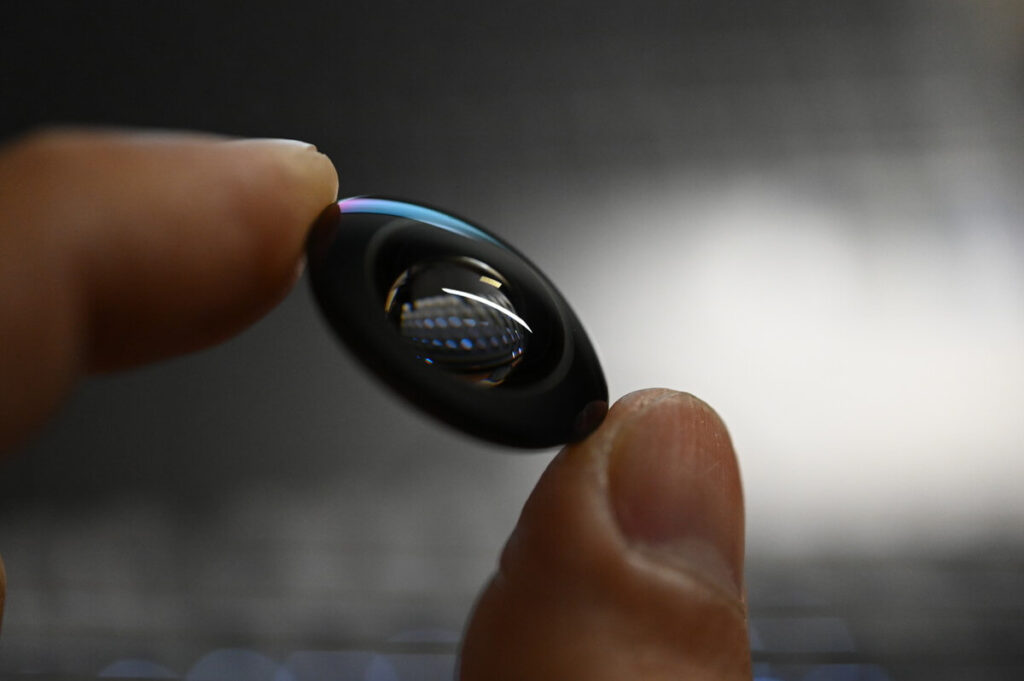
When you open the lens storage box, you can see that the new lenses come with a suction cup, which allows you to secure the lenses directly onto the X5 body for easier and safer handling.
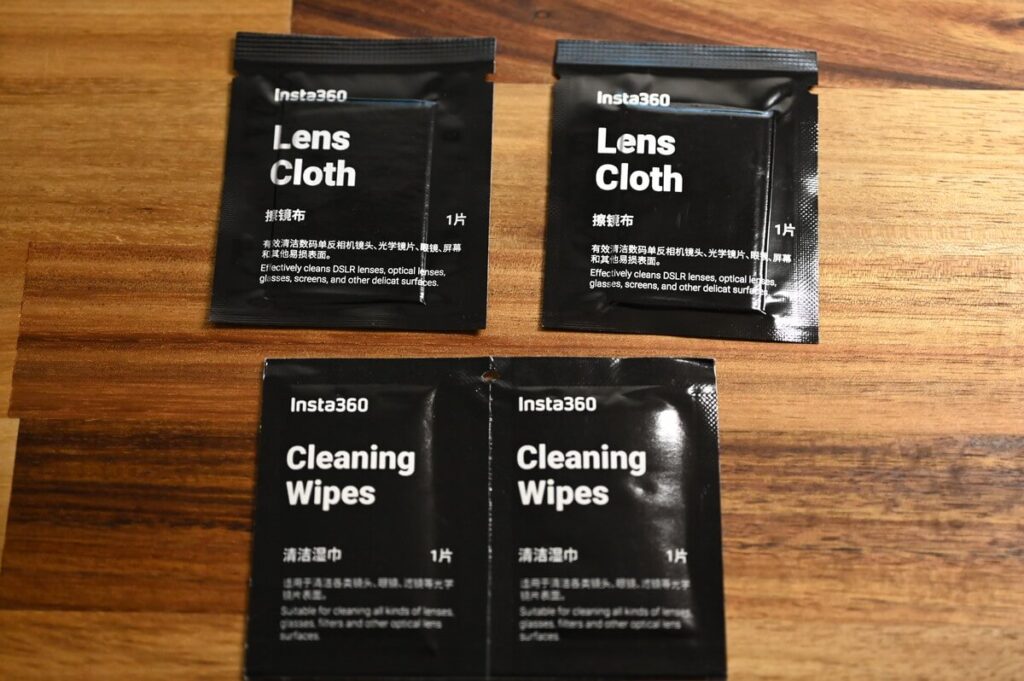
Lens cloths are used to wipe the lenses.
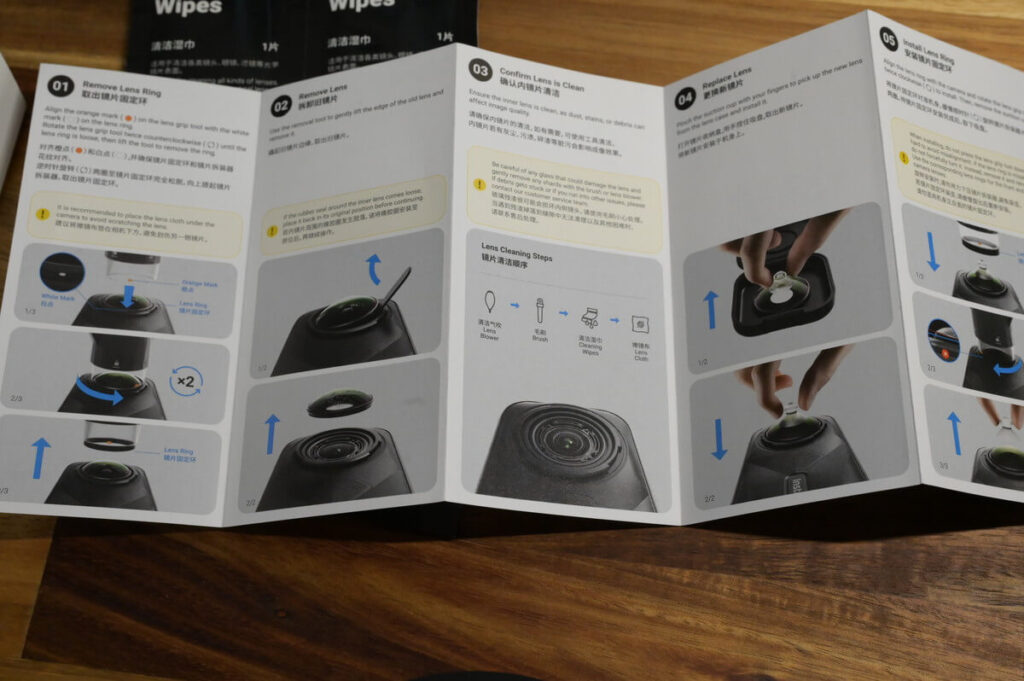
A Instruction Manual with clear illustrations is included in the package to help you understand and complete the entire lens changing process more intuitively.
Insta360 X5 Lens Replacement Tutorial
Film Teaching
This is my self-recorded process of changing the lenses, feel free to refer to
X5 dealers have also recorded instructional videos on changing lenses, which are clear and easy to follow.
Graphic Teaching
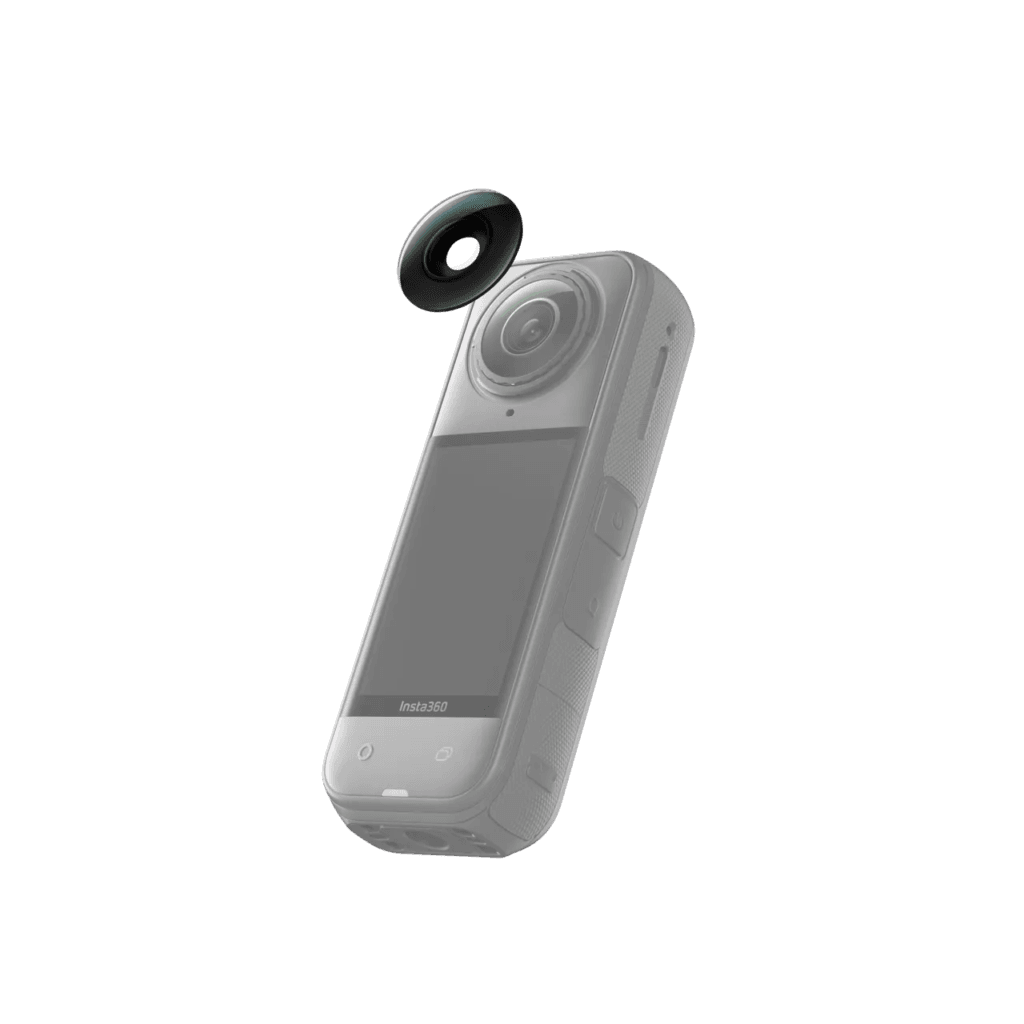
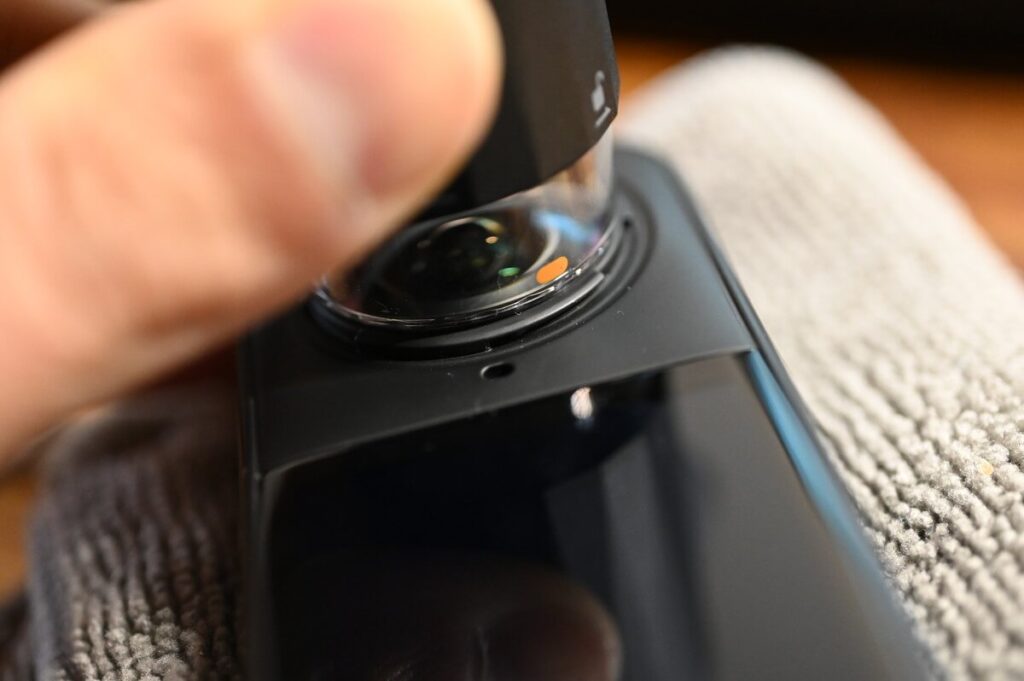
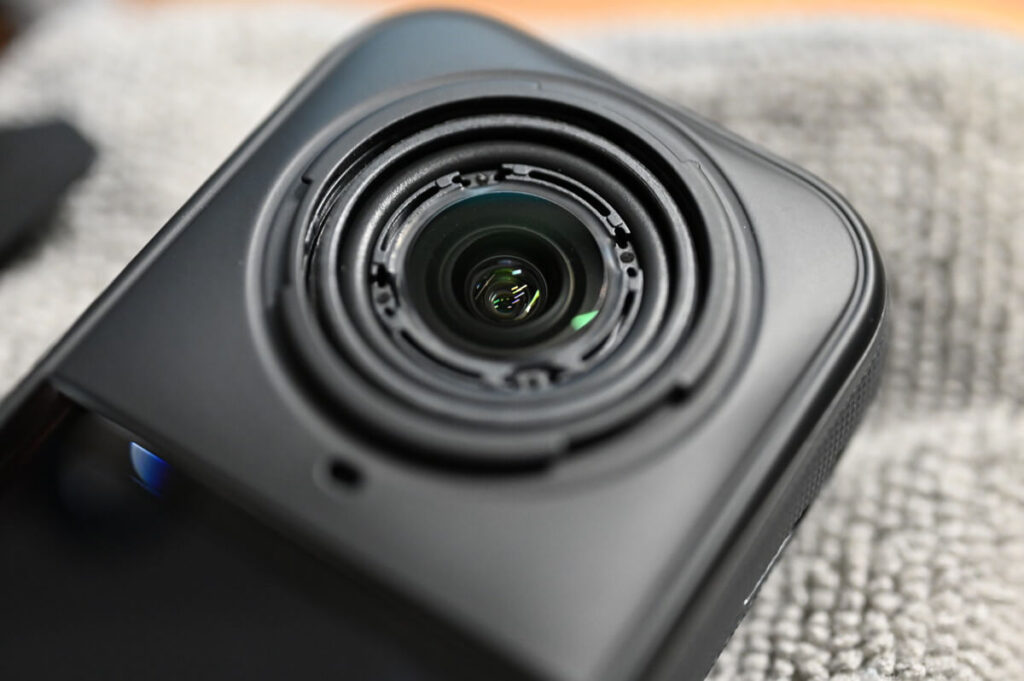
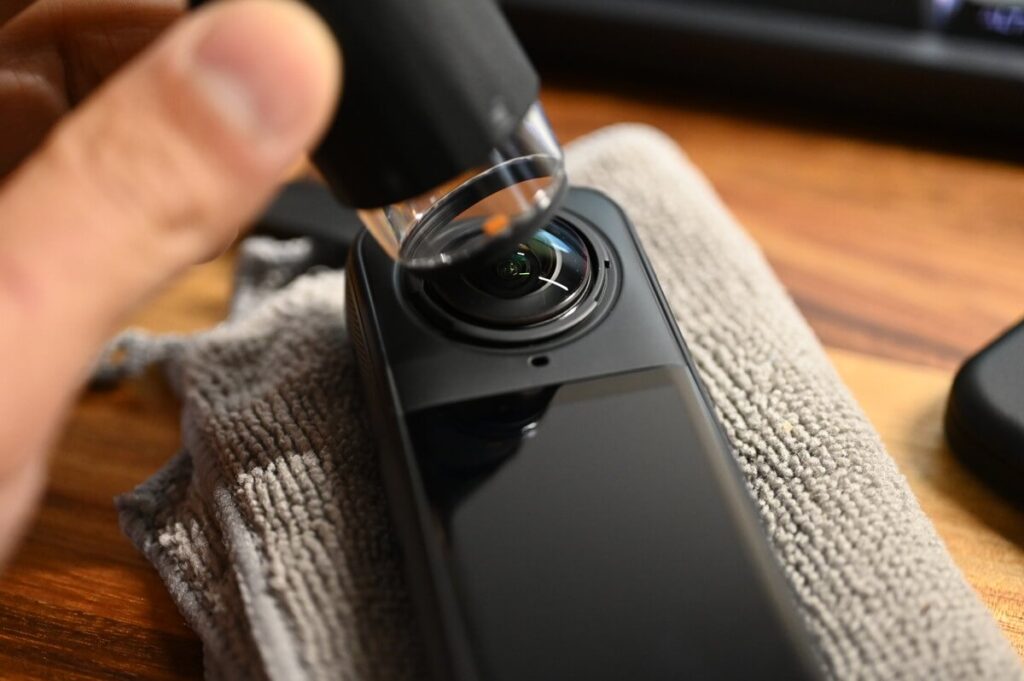
The X5 has a gear-shaped notch around the lens and a white dot mark in the centre.

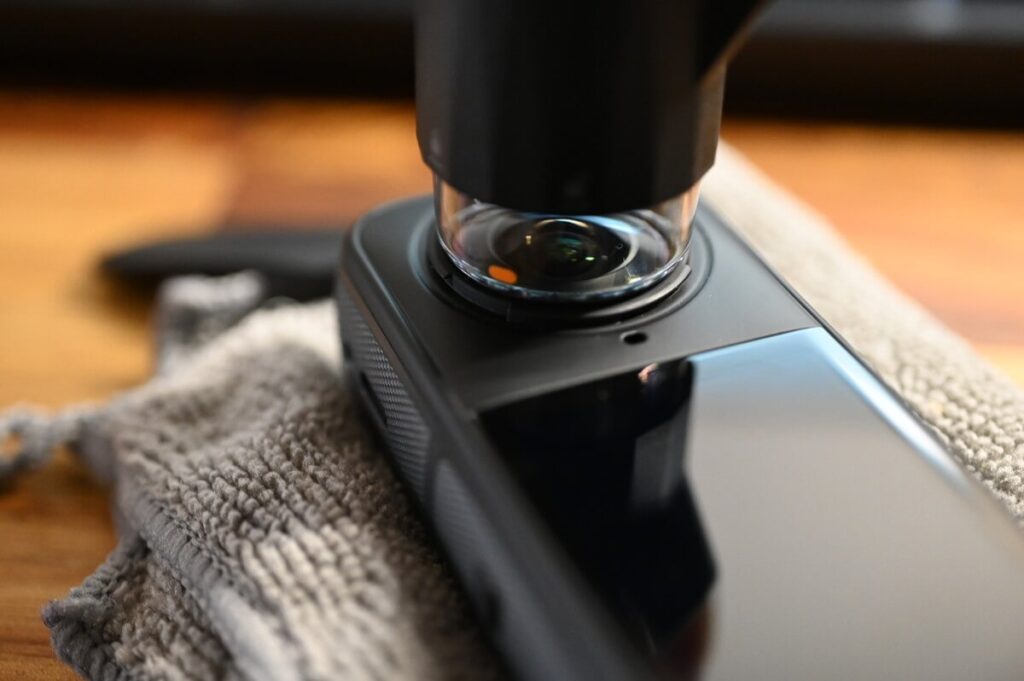
Check the orange mark on the lens remover and align it with the white dot in the centre of the bottom of the gear-like part of the X5 lens.
After ensuring a tight fit, rotate the lens counterclockwise twice and the lens ring will come off.
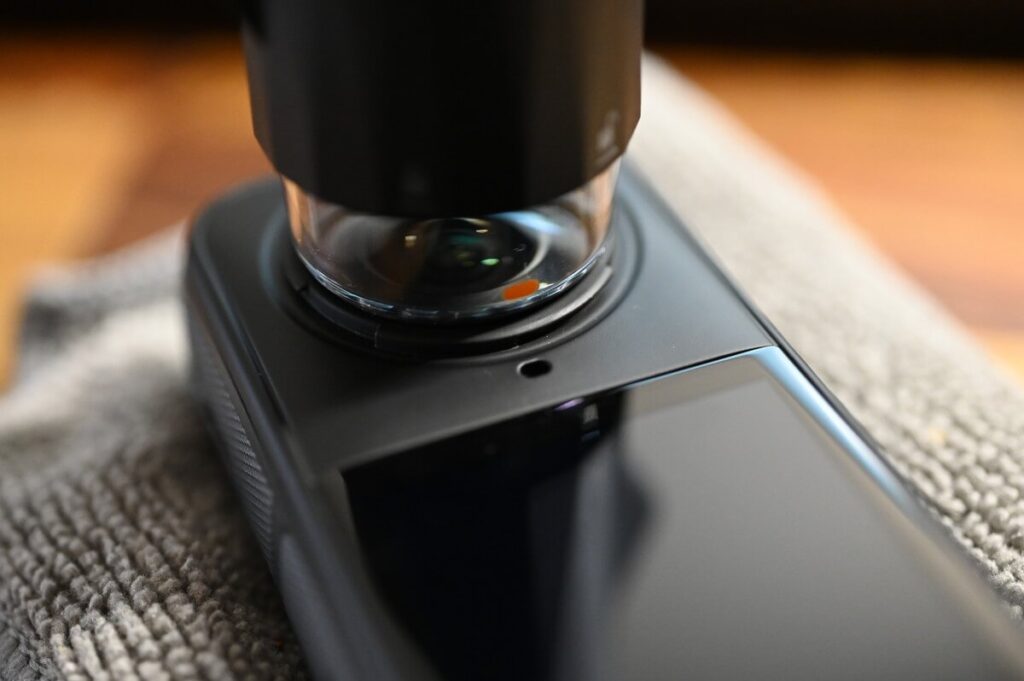
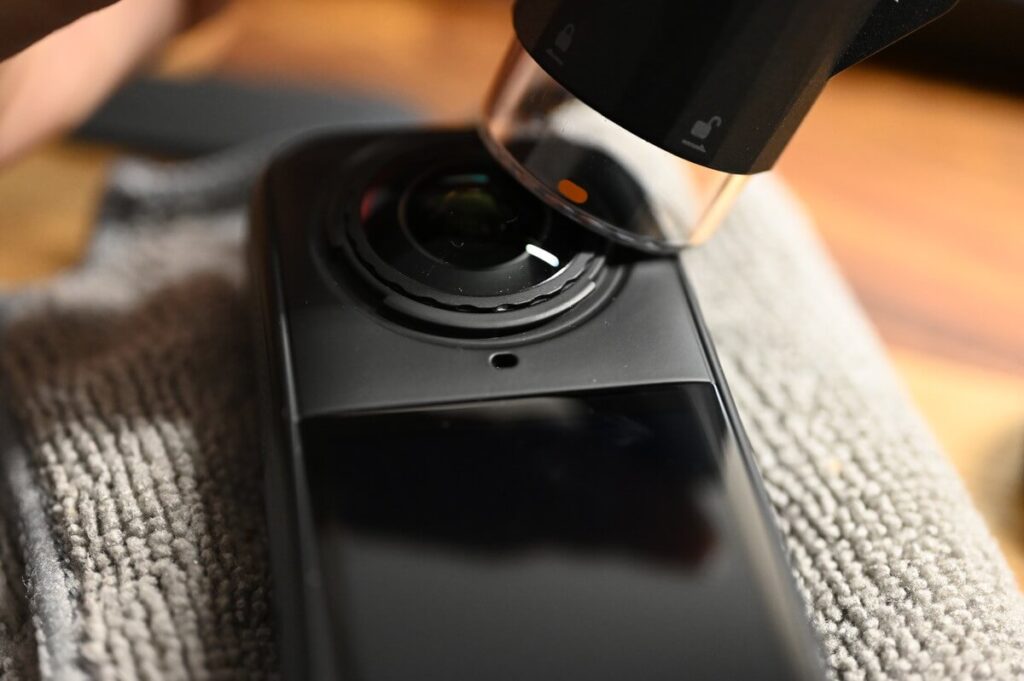
Remove the lens ring.
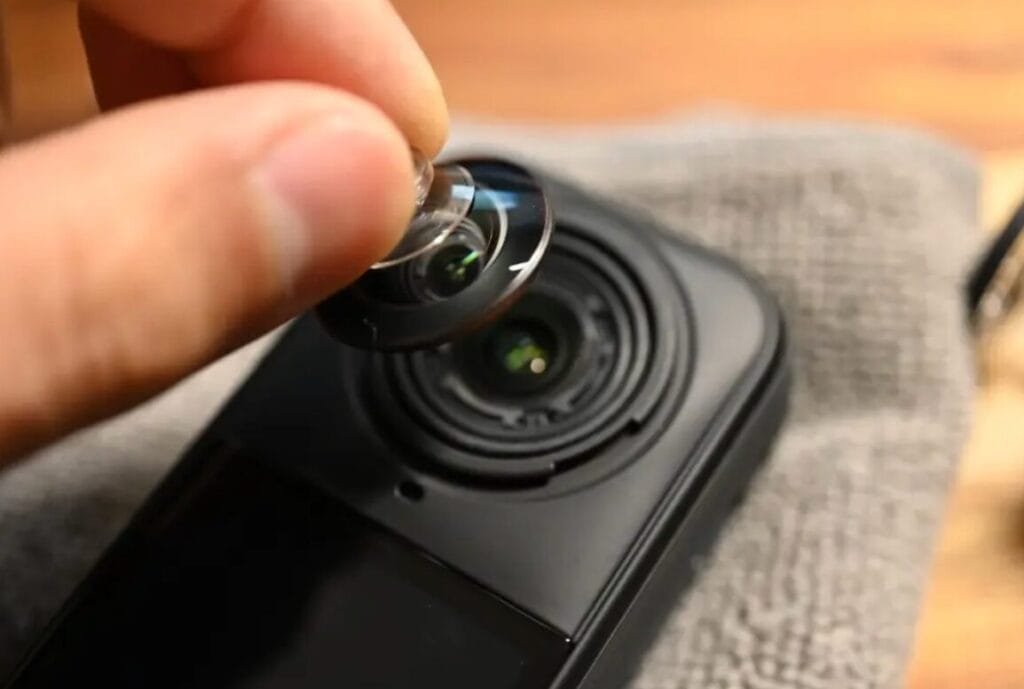
When the camera lens is in the no lens ring position, it means that you can use the pry lens to pry off the original lens.
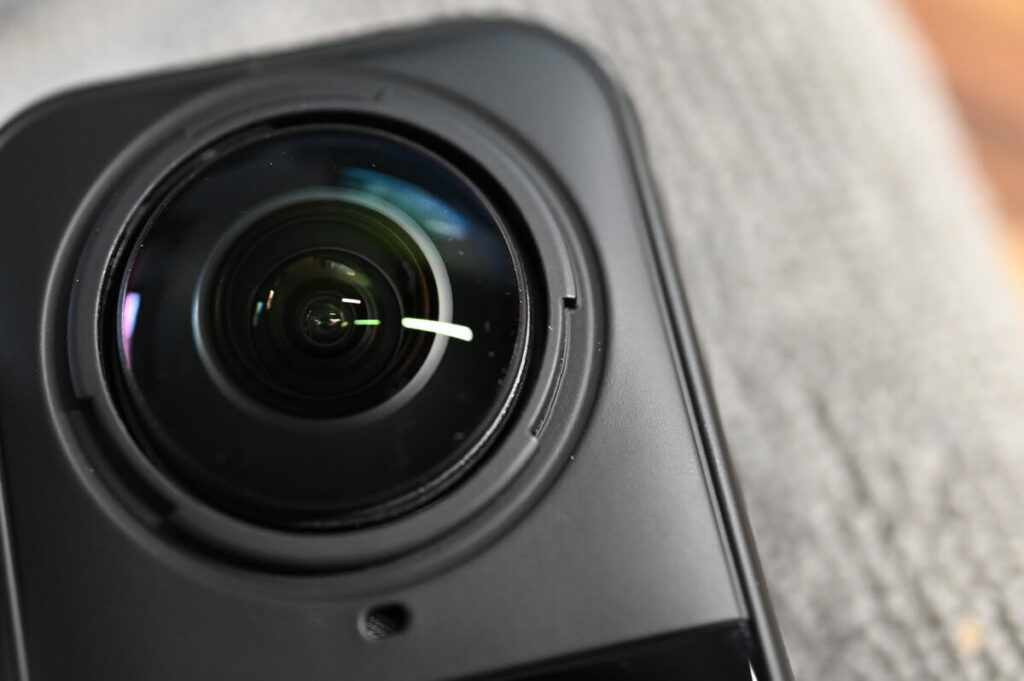
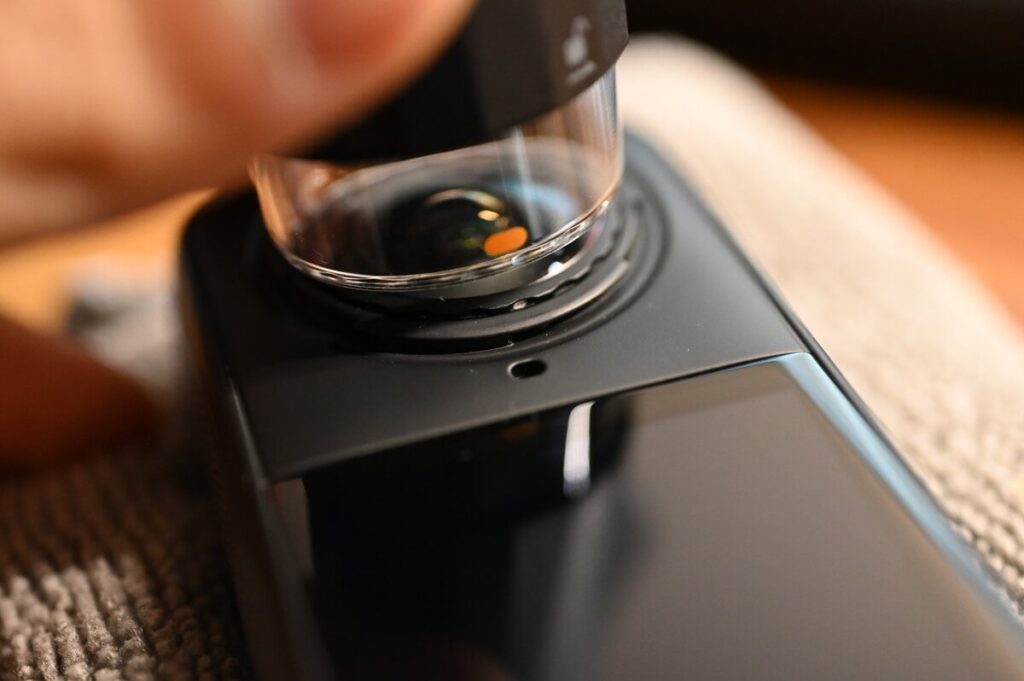
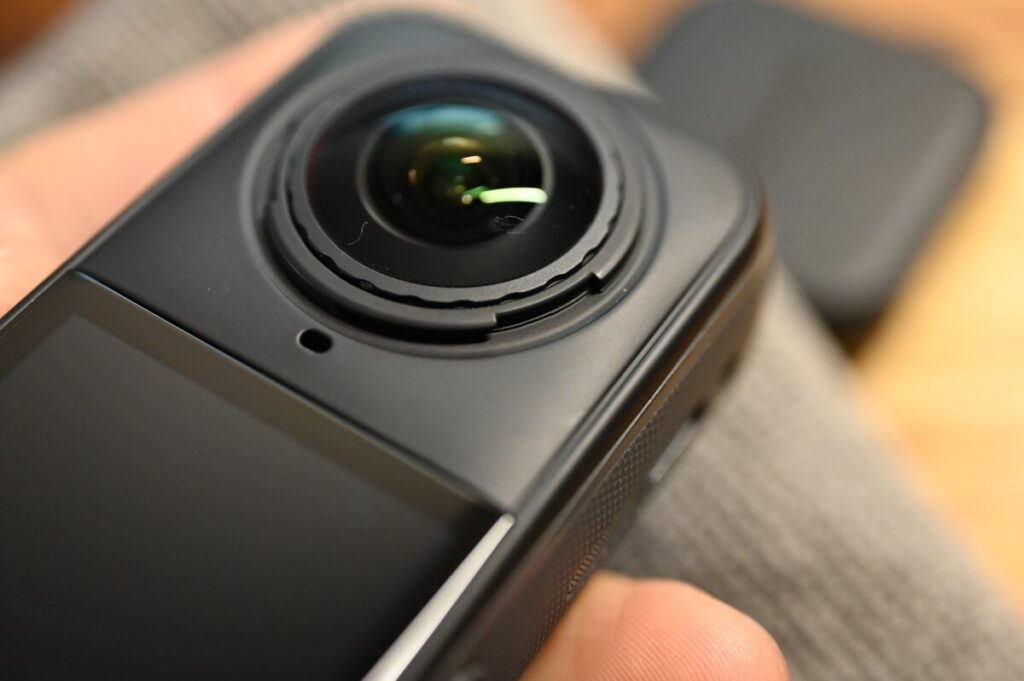
As you can see from the side of the lens on the X5, the gear-like structure has disappeared and a gap has appeared around the lens.
Here's the X5 without the lens ⬇️
Open the new lens case, squeeze the suction cups with your hands, remove the new lenses from the case, and securely mount them on the camera.
The X5's lens is protected by a waterproof ring around the inner rim. The waterproof treatment is quite good.
Finally, install the lens ring by rotating it clockwise twice.
Complete Installation
It turns out that some of the tools included in the kit, such as the air blower and the brush, are not really needed at all.
However, when it comes to replacing broken lenses, or servicing the X5 after a long period of use, tools like the air blower or brush will come in handy.
Insta360 does not recommend replacing 100% cracked lens by yourself, if the lens has 100% cracked into powder, it may not be able to rotate the tool, and the debris may contact the inner lens and cause scratches, so the official reminder should be out of precautionary considerations. It is recommended that you decide whether or not to replace the lens according to the actual damage of the lens.